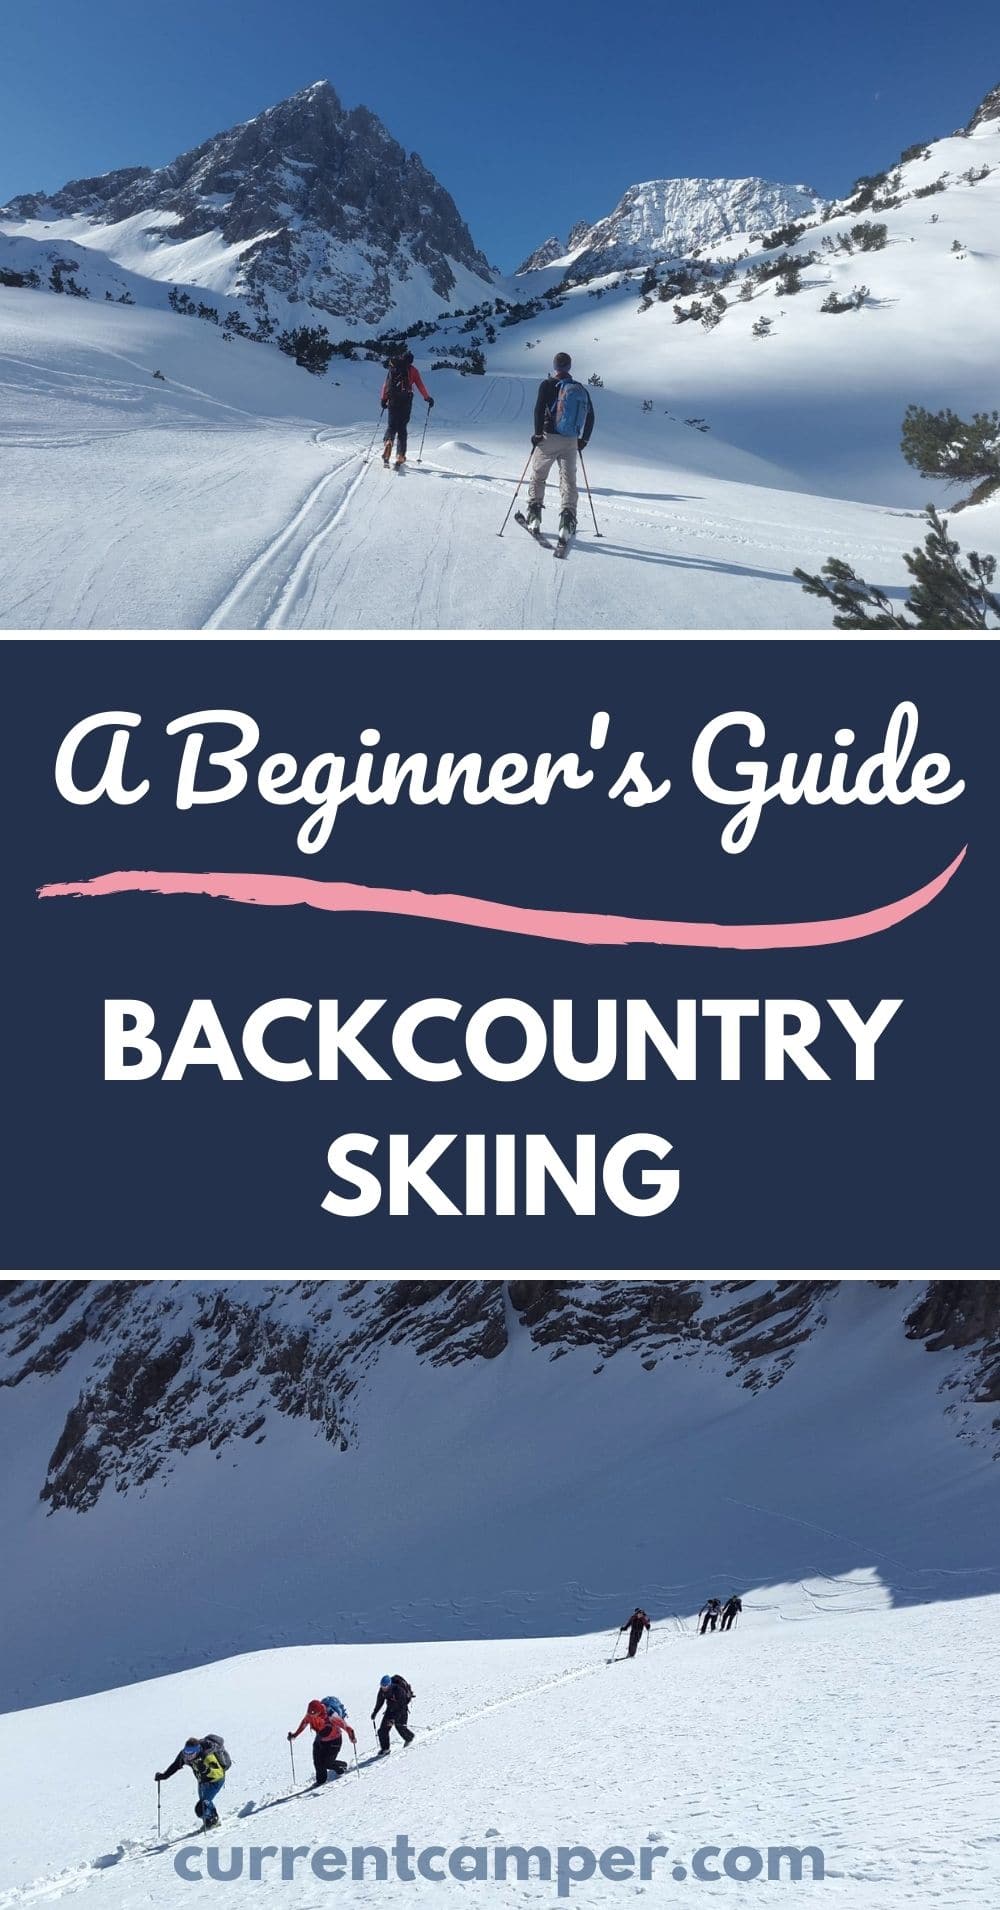
From the solitude of trekking up a mountain to carving through untracked snow, the allure of backcountry skiing is obvious.
It’s all the best parts of skiing — the breathtaking views, the crisp fresh air, the exercise, and of course, the inexplicable feeling of soaring down the mountain, your skis floating over fresh soft snow. Backcountry allows you to leave the lift lines behind, earn your turns, and create your own trail through untouched powder.
However, this magical experience doesn’t come without an element of risk. Backcountry skiing often requires traveling through avalanche terrain and unlike resort skiing, you’re likely to be in areas that are not maintained and serviced by ski patrol.
You must be equipped with the proper gear, knowledge, and experience before heading out into the unknown. In this blog, we’ll cover the basics of backcountry skiing. It’s important to note that this article should not replace formal training, but rather should be used as an introduction or starting point for your backcountry education.
Backcountry Skiing Gear
Skis, bindings, and skins
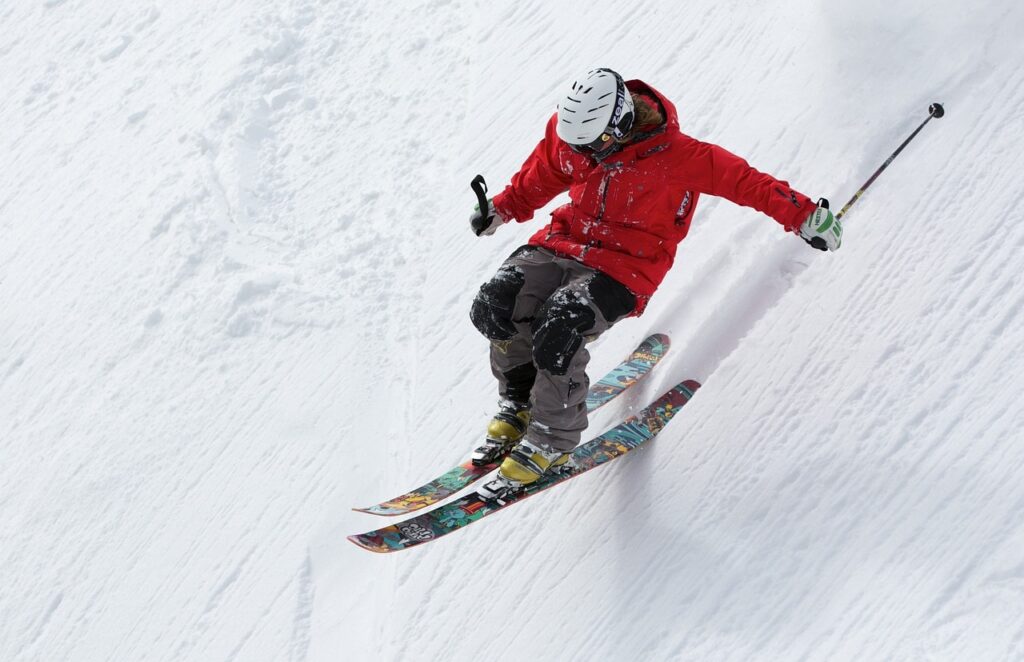
Although you can use alpine skis for backcountry when fitted with touring bindings, touring skis are lighter, making uphill travel easier. In addition to skis, you’ll need touring bindings. These bindings allow you to unlock the heel and hinge at the toe for uphill efficiency.
The most common type, alpine touring bindings, allow you to lock your heel back down when it’s time to descend. It’s important that you also have boots that are compatible with your touring bindings.
Lastly, you’ll need climbing skins for the bottom of your skis. Skins have a furry side that goes on the snow and an adhesive side that sticks to your skis, locking in place on the ends. The furry side allows you to only slide your skis forward, preventing you from sliding backward down the mountain.
When it comes time to descend, you’ll take the skins off your skis and put them in your backpack so your skis slide as usual.
Splitboards, bindings, and skins
If you’re a snowboarder looking to get into the backcountry, you’re going to need a splitboard. Splitboards are snowboards that can be split down the middle into two touring skis for the uphill portion of the hike. When it comes time to descend, you can lock the two skis back together into a snowboard.
You will need splitboard-specific bindings which have the same toe hinge, free-heel features as touring bindings, but will turn and lock into place on your board for the descent. Fortunately, you can use your regular snowboard boots on a splitboard. Similar to skis, you’ll need skins that are cut to fit your splitboard in its touring ski form.
Helmet and poles
Both skiers and snowboarders will need helmets and poles. The poles help you ascend and the helmet is an important safety device. Many skiers use adjustable poles so they can be shortened during steep sections of the climb. Snowboarders often opt for collapsible poles so they can easily be stored in a backpack for the descent.
Ski backpack
There are many things you’ll need to carry while backcountry skiing/boarding. You’ll need a backpack large enough to carry all your gear and comfortable enough to wear all day long while ascending steep slopes. Many backpacks designed specifically for backcountry have features with all of your gear in mind.
If you’ll be touring in dangerous avalanche terrain, you may even want to consider an airbag backpack which can help save your life by floating you above the snow if you’re caught in an avalanche.
Shovel, beacon, & probe
Speaking of avalanche safety, you must carry a shovel, beacon, and probe. A shovel is used to dig snow pits and determine snow stability in addition to rescuing buried members of your group in the event they’re caught in an avalanche. A beacon (or transceiver) is a device everyone in your group should carry. When you head out, you should all have your devices on “send” mode so they are sending out signals.
If someone is buried in an avalanche, another member of the group can switch their transceiver to “search” mode and they will be alerted to the location of the transceiver(s) in “send” mode. A probe is a long collapsible pole used to probe through the snow for the avalanche victim to pinpoint their location before digging.
Backcountry Skiing Education
You should always explore the backcountry with an educated partner. That way, you can look out for one another. Make sure your partner is formally educated on avalanche safety, is fully prepared with all the proper gear, is willing to turn back if conditions aren’t right or you don’t feel comfortable, and that the two of you communicate well.
Get formally educated
Make sure that you and whoever you are adventuring with have completed a formal avalanche rescue training so that you’re fully prepared for any dangers you may encounter. These courses cover avalanche hazard assessment, decision making, and rescue.
READ MORE: Snowboarding and Skiing During the COVID-19 Era
Take it Slow
Before venturing into the backcountry, you should be fully comfortable skiing or boarding a wide range of advanced terrain in a resort setting. Next, try getting comfortable with your gear by doing some uphill travel at a ski resort.
Many resorts offer uphill travel routes so you can practice skinning up, hiking to the top, and skiing down in the safety of a controlled and maintained environment. If available in your area, you may want to try side-country before venturing out into the backcountry.
Sidecountry can mean a few different things but is typically wild and remote terrain like backcountry but patrolled like inbounds terrain.
It can be accessed via a lift, a snowcat, or by foot. Sidecountry is a great entry to backcountry because it can be a similar experience with a little less risk. You should still take all of your avalanche gear with you into the sidecountry and travel with an educated partner.
How to Plan Your First Backcountry Ski Trip
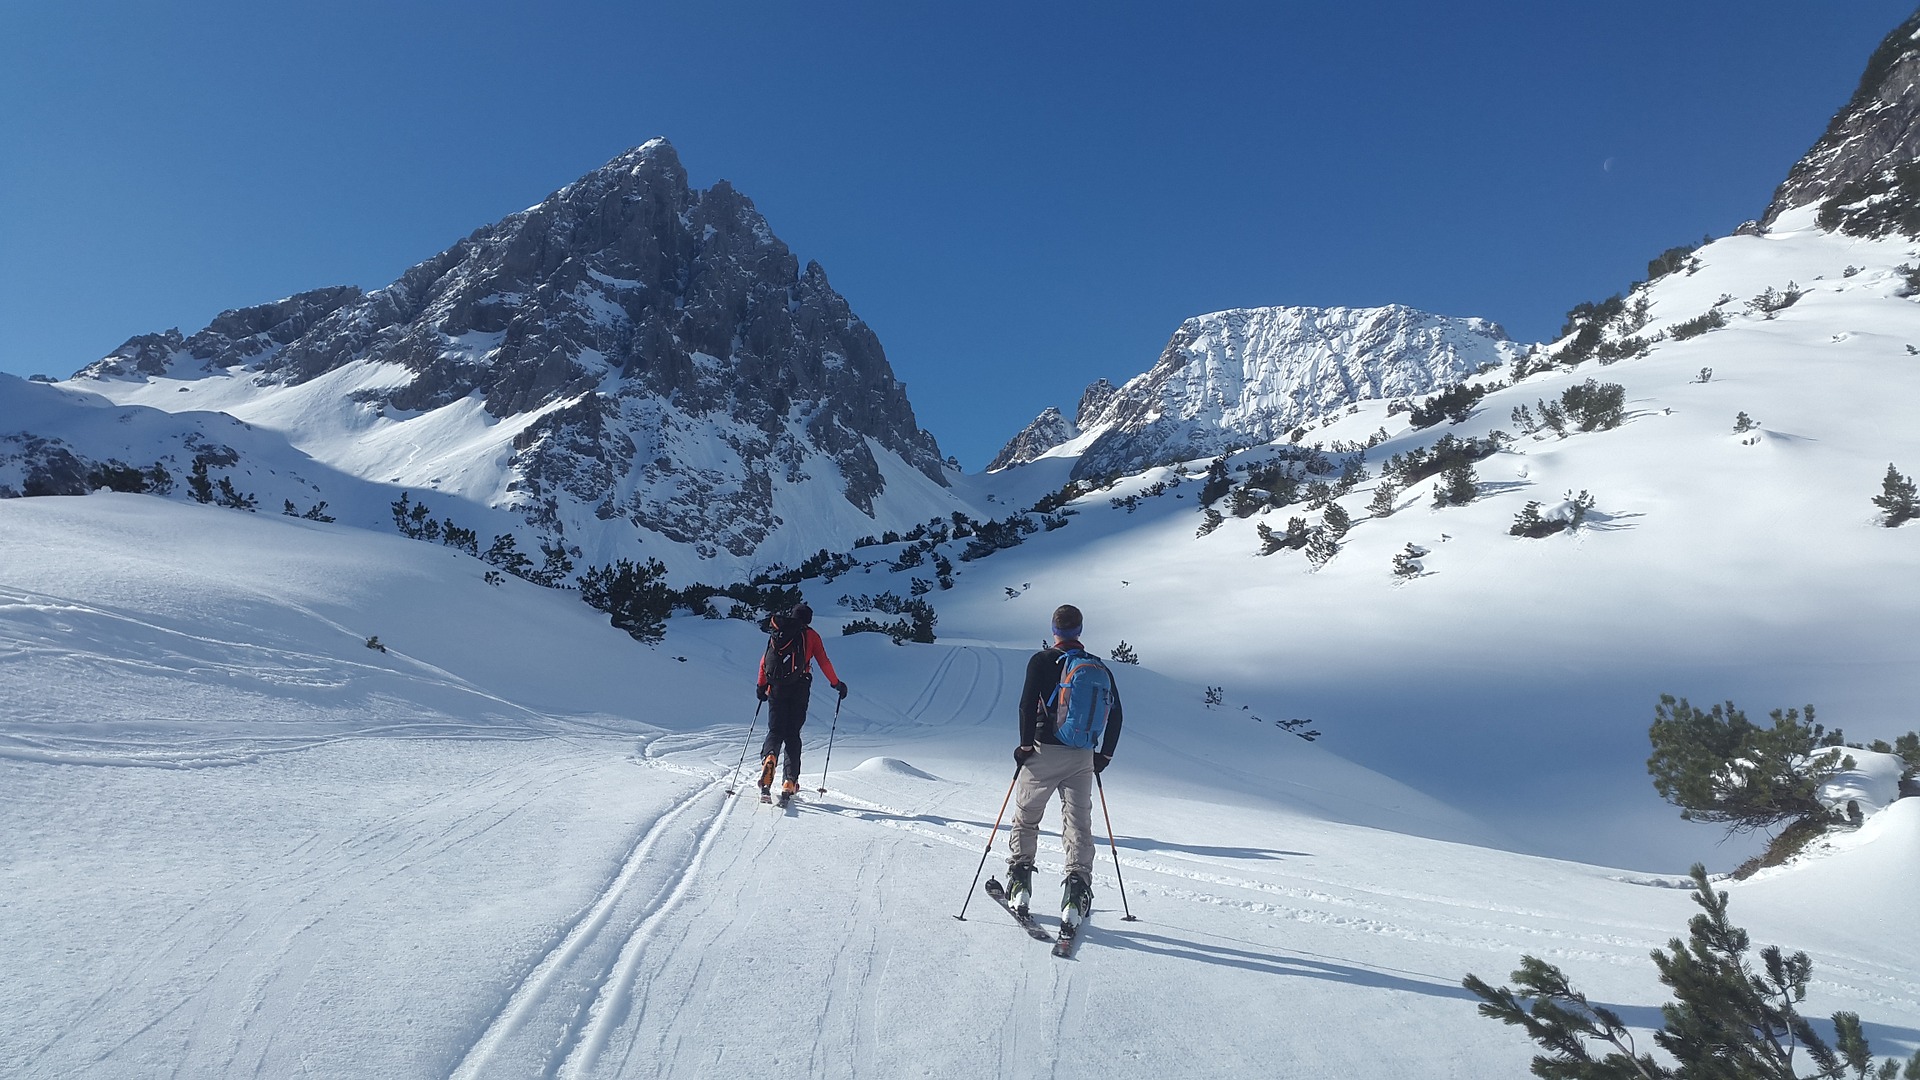
When you do reach the point where you are comfortable and ready for your first backcountry adventure, there are a few steps you should take to prepare for it.
- Round up a group of educated, trustworthy friends to join you.
- Choose a destination. Ideally, you should make your first trip a simple one that has easy access, moderate skiing, and a low avalanche risk.
- Contact your local avalanche center for an analysis of the forecast.
- Make sure you have a map and compass and have thoroughly researched the trip.
- Make sure everyone is prepared and comfortable with the plan.
- Have a blast!
Pin it!
