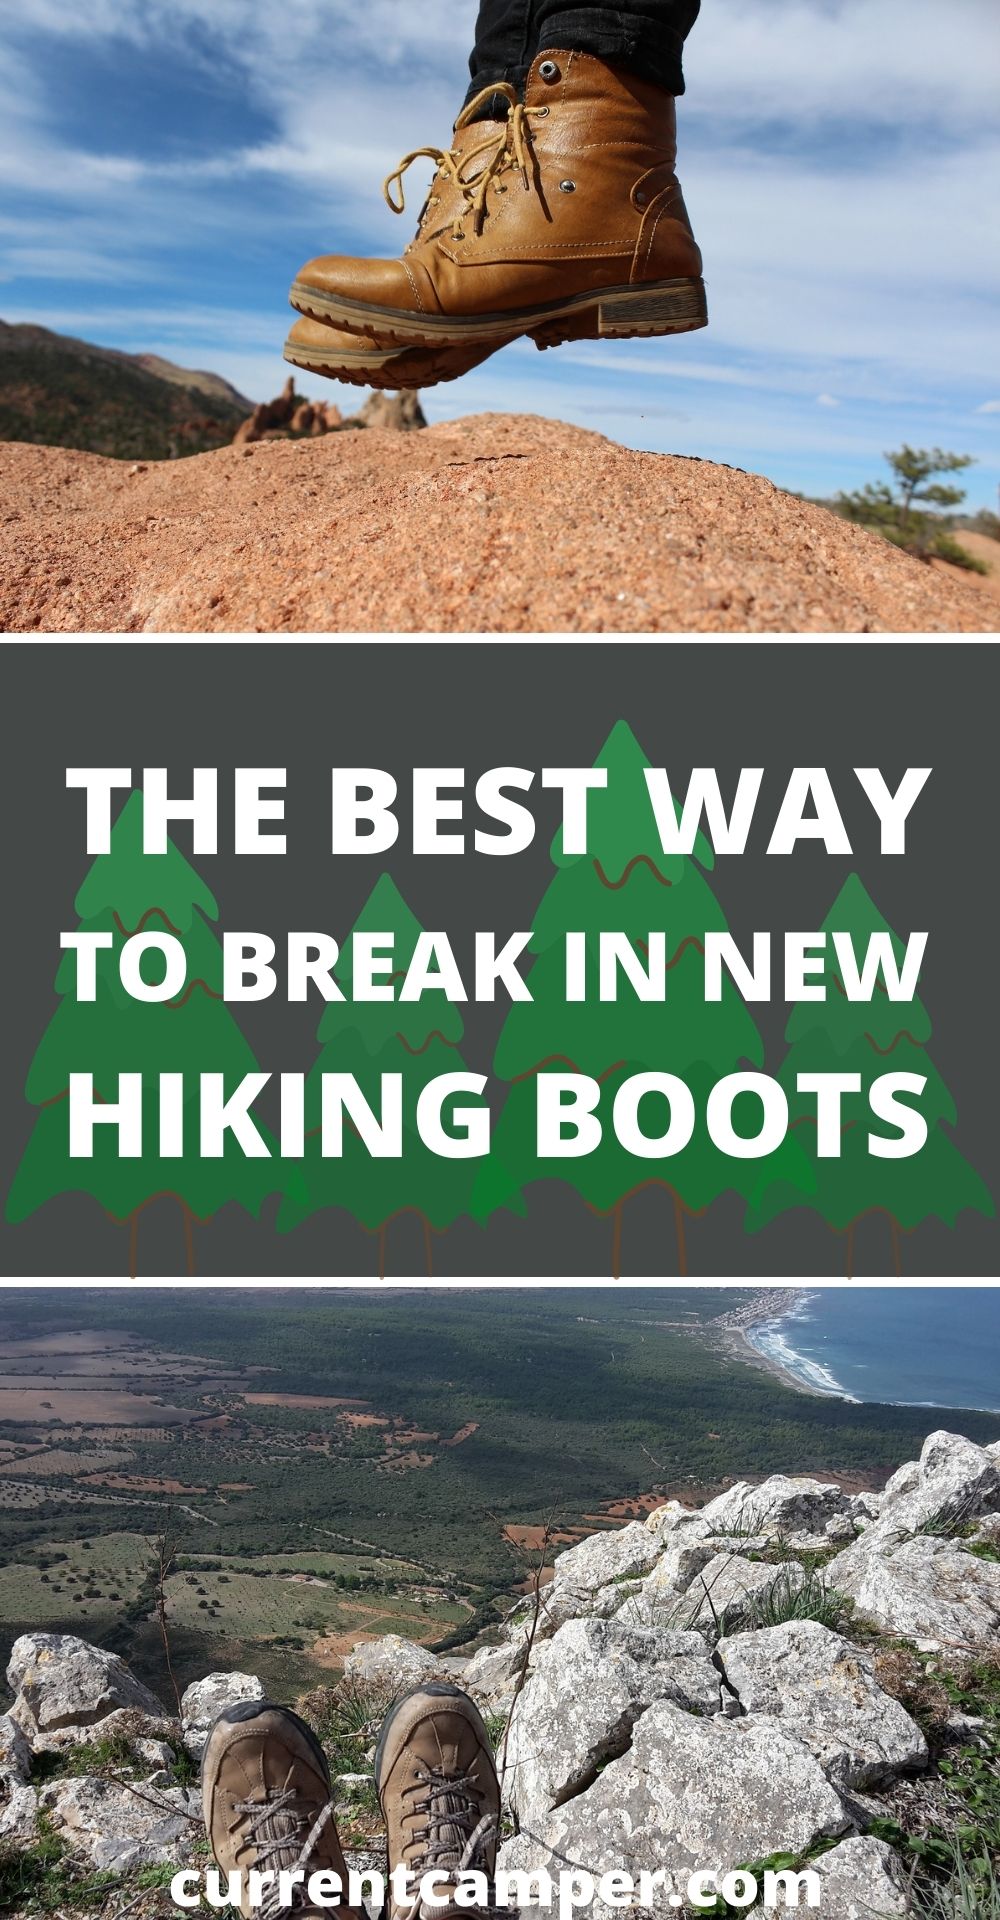
Getting new hiking boots is always exciting.
Add in the fact that your new hikers also double as one of the most important pieces of gear on your backpacking list, and chances are you’ll be chomping at the bit to get on the trail and try them out.
But before you go setting off on a ten-mile trek, you’re going to want to take the time to make sure your new hiking boots or shoes are properly broken in, or chances are you’re going to find yourself in a world of hurt.
The amount of time you’ll need to break in a new pair of boots will depend on a few factors.
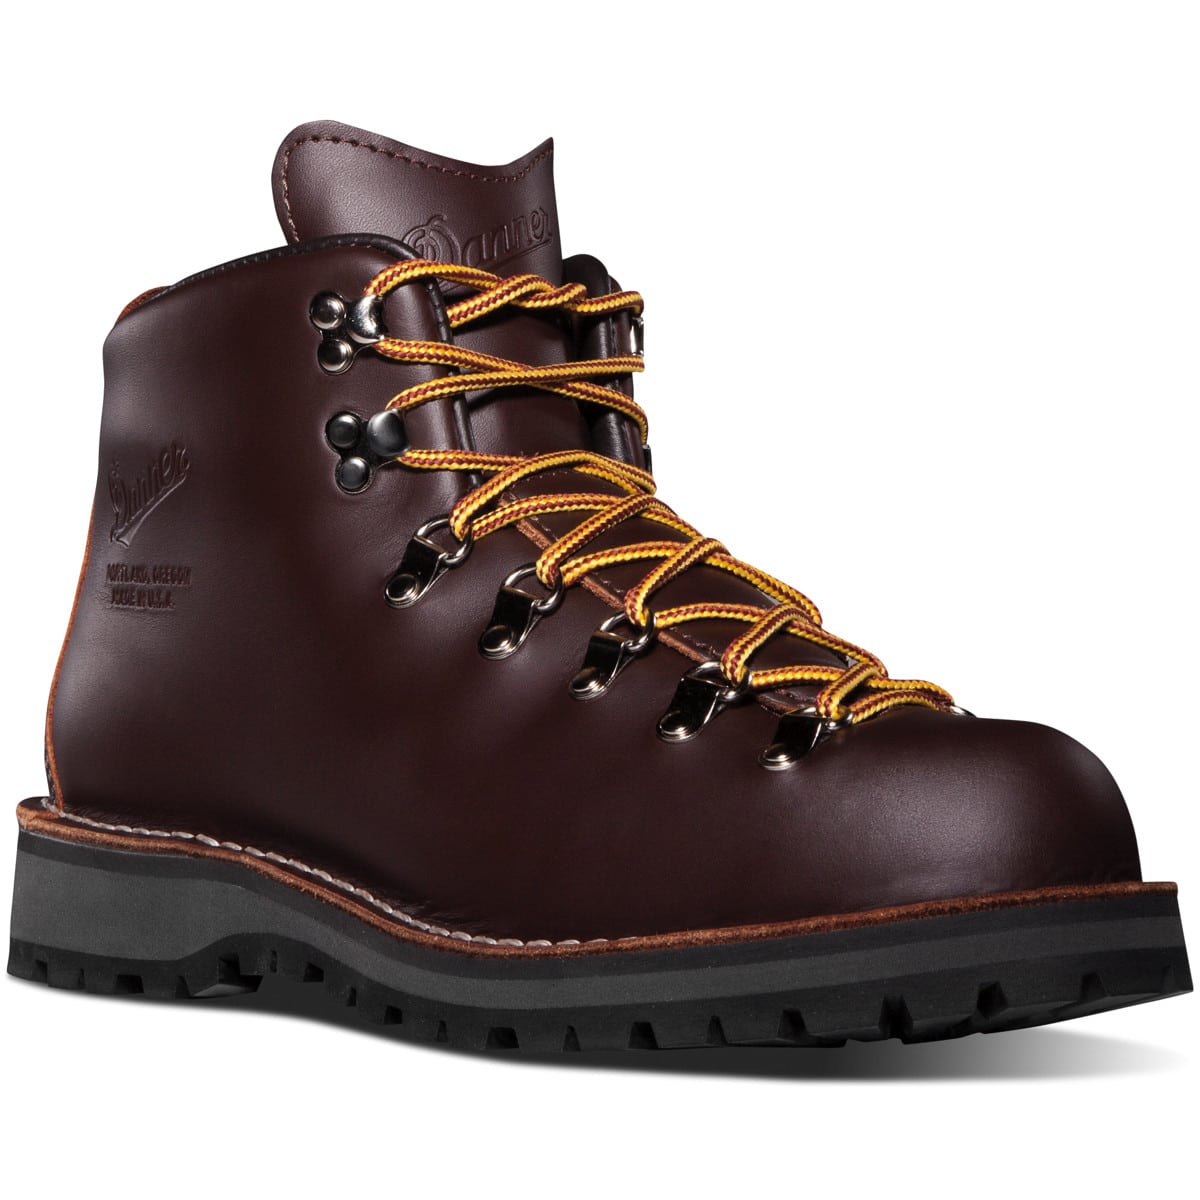
For classic, full leather hiking or mountaineering boots like the timeless Mountain Light ones from Danner, you may need to plan for several weeks of gradually more strenuous hiking before you can be confident that your boots are ready to go.
Ultralight hiking shoes and trail runners, on the other hand, often require almost zero break-in time, and will technically be “fully broken in” after just a few short miles.
Regardless of what type of footwear you choose, our goal for “breaking them in” is going to be to get as close as we can to putting them through the full range of conditions you’ll encounter on the trail before you actually get out there and have to deal with them on the fly.
However, preparing to spend long, strenuous hours out on the trail is as much about breaking in the shoe as it is about getting your feet acclimated to their new home.
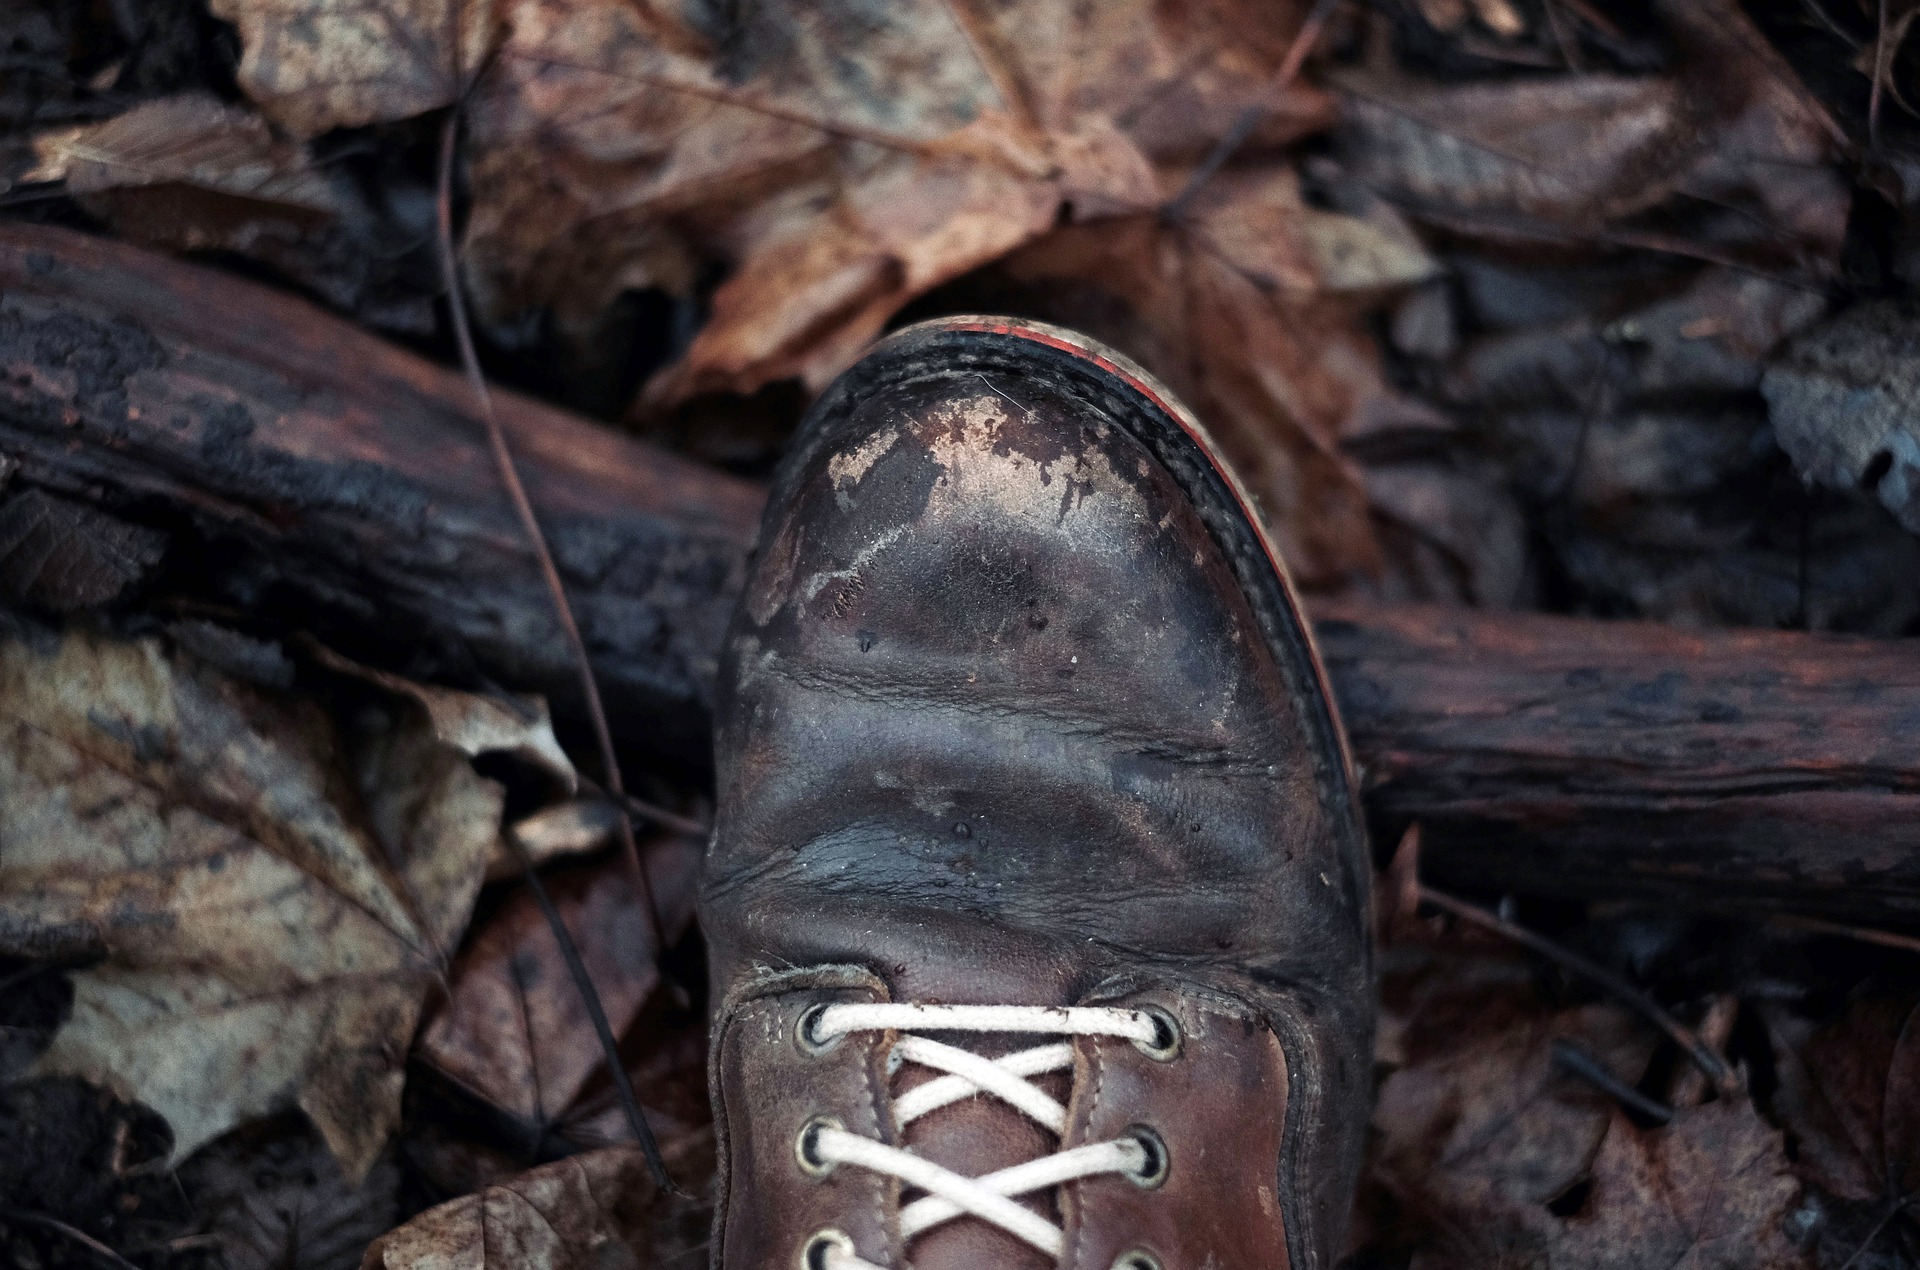
Ultimately, breaking in new boots is all about preventing blisters, which can bring any hike to an abrupt and painful halt.
In this article, we will first look at how to “break in your feet” regardless of which type of footwear you decide on. Then, we’ll look at two methods for breaking in the shoes themselves both on the trail and around town.
First Thing’s First: Breaking In Your Feet
One of the often-overlooked reasons we “break-in” new footwear before setting off on a long trip is to give your feet a chance to adapt to new conditions.
As any seasoned hiker will tell you, keeping your feet happy is the largest deciding factor on whether or not a long-distance hike will be successful.
Blisters can be trip-killers, and once they happen, it’s already too late.
But lucky for us, human skin is an incredibly adaptive piece of gear in its own right.
The goal of “breaking in your feet,” is to leverage that adaptivity by intentionally developing the calluses you’re going to need to comfortably walk in your shoes for extended periods.
READ MORE: What To Wear When Going Hiking
Finding Your Hot Spots
Ultimately, calluses and blisters come from the same source, which is friction between your socks, shoes, and feet, which in turn can create “hot spots” on your skin.
Hot spots are your early indicator that a blister is coming, so to guard our feet against blisters, we’re going to start out with short distance hikes and pay attention to any hot spots that may develop.
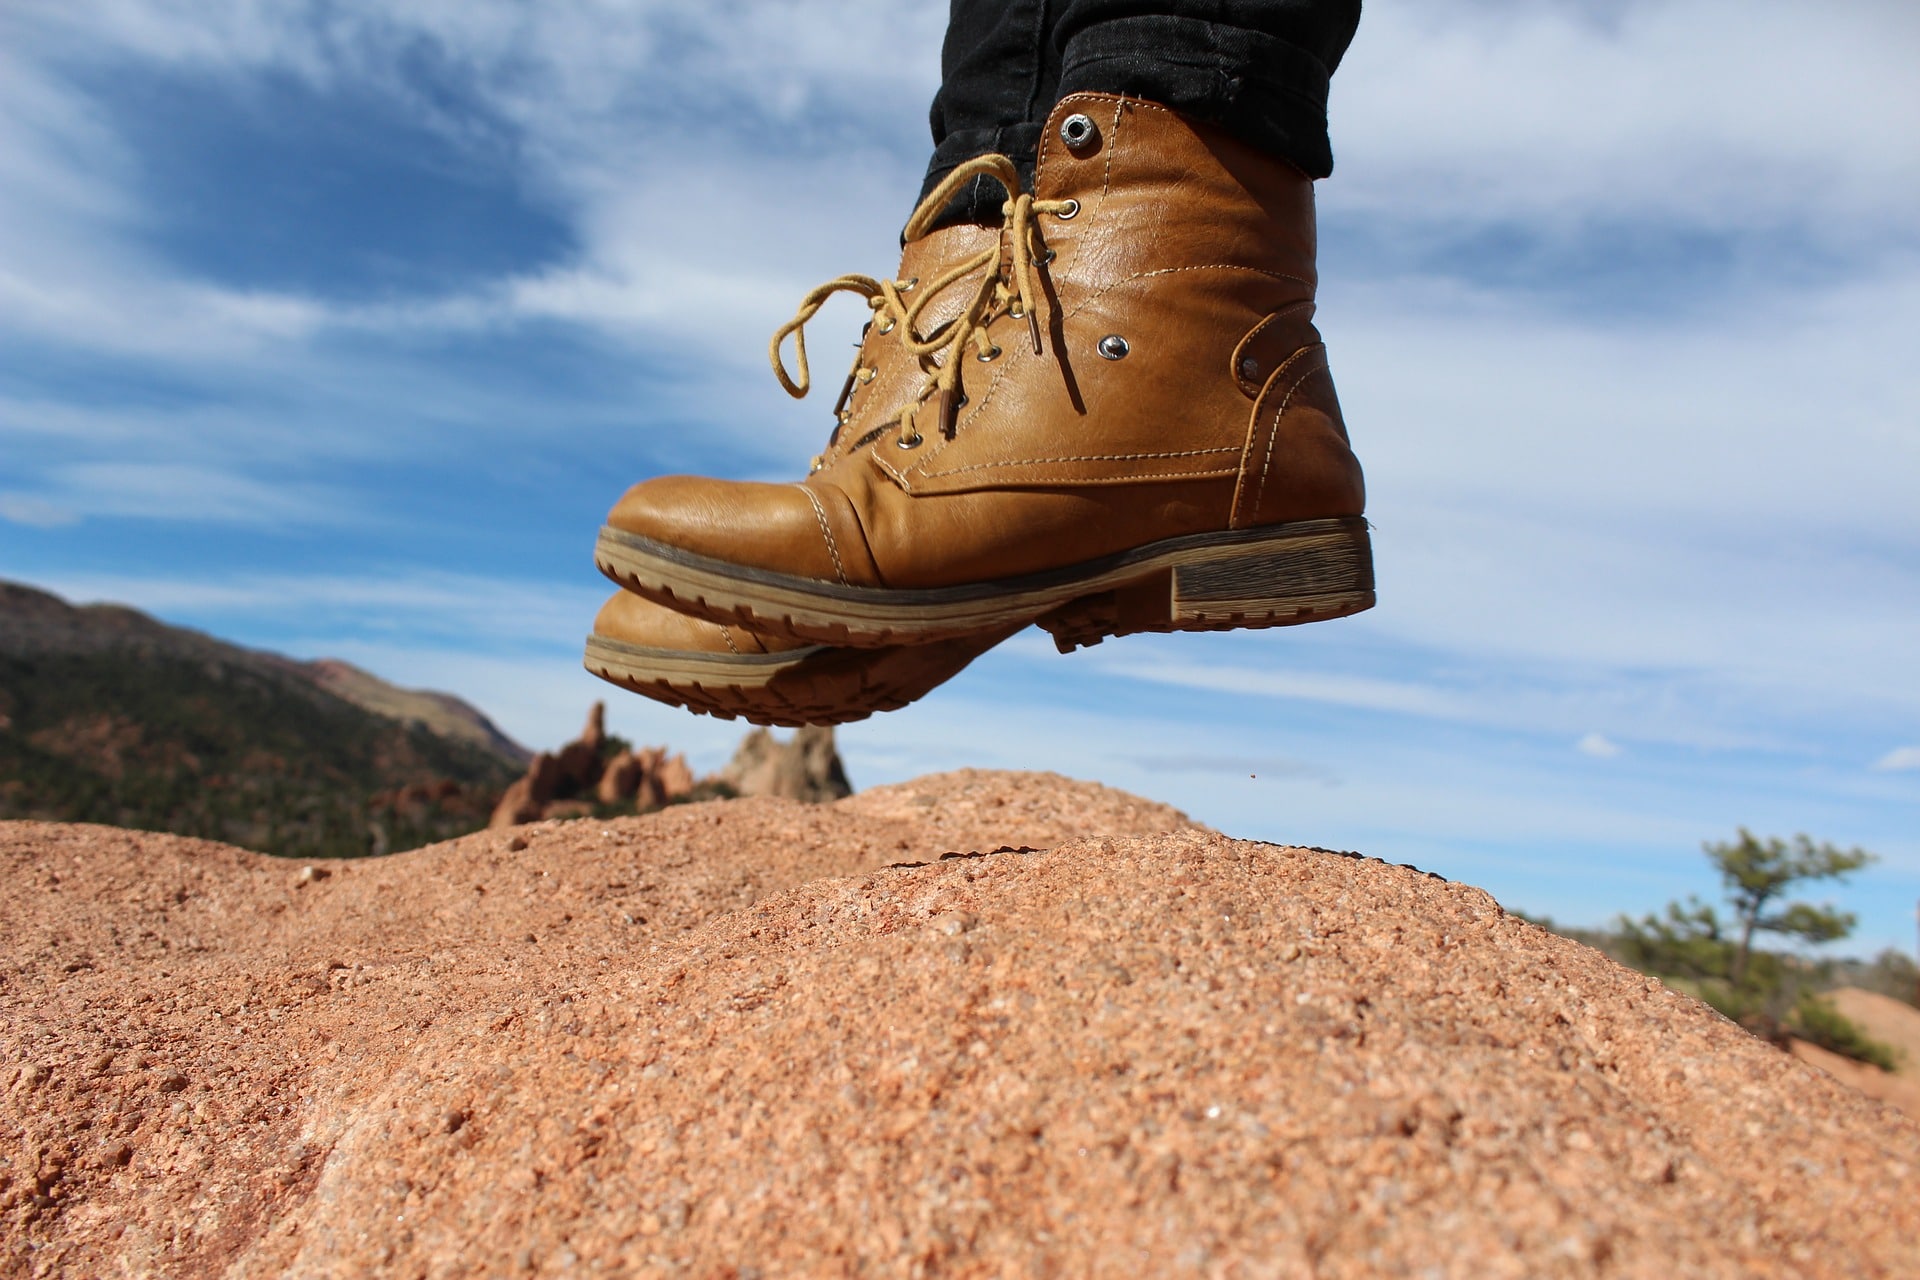
Straight out of the box, we want to start small.
Like really small.
Put on your new boots or shoes while wearing the same socks you intend to hike in.
You’ll want to make sure to do your research on which hiking socks will best suit you, but the most important factor to keep in mind is to stay away from cotton socks of any kind.
Walk around the house. Walk around the block. Go on a grocery run wearing your new hikers.
If you experience any major red flags doing these simple errands, chances are you may just have an improper fitting boot, and will need to exchange them for another size or brand.
If your boots are comfortable around town, it’s time to move on to your first short trek.
Start out with doing just a mile or two of constant walking, keeping a close watch for any hot spots you start to feel.
After doing a couple of short trips, your feet will have started getting used to your boots, and you can gradually start adding on more and more distance.
As we said before, the goal of this practice is to get as close as you can to the actual conditions you will be facing on the trail. So once you get to this point, it’s also a good idea to start bringing your backpack along, gradually adding weight to the pack as you go to help simulate the stresses your hikers will be subjected to on the trail.
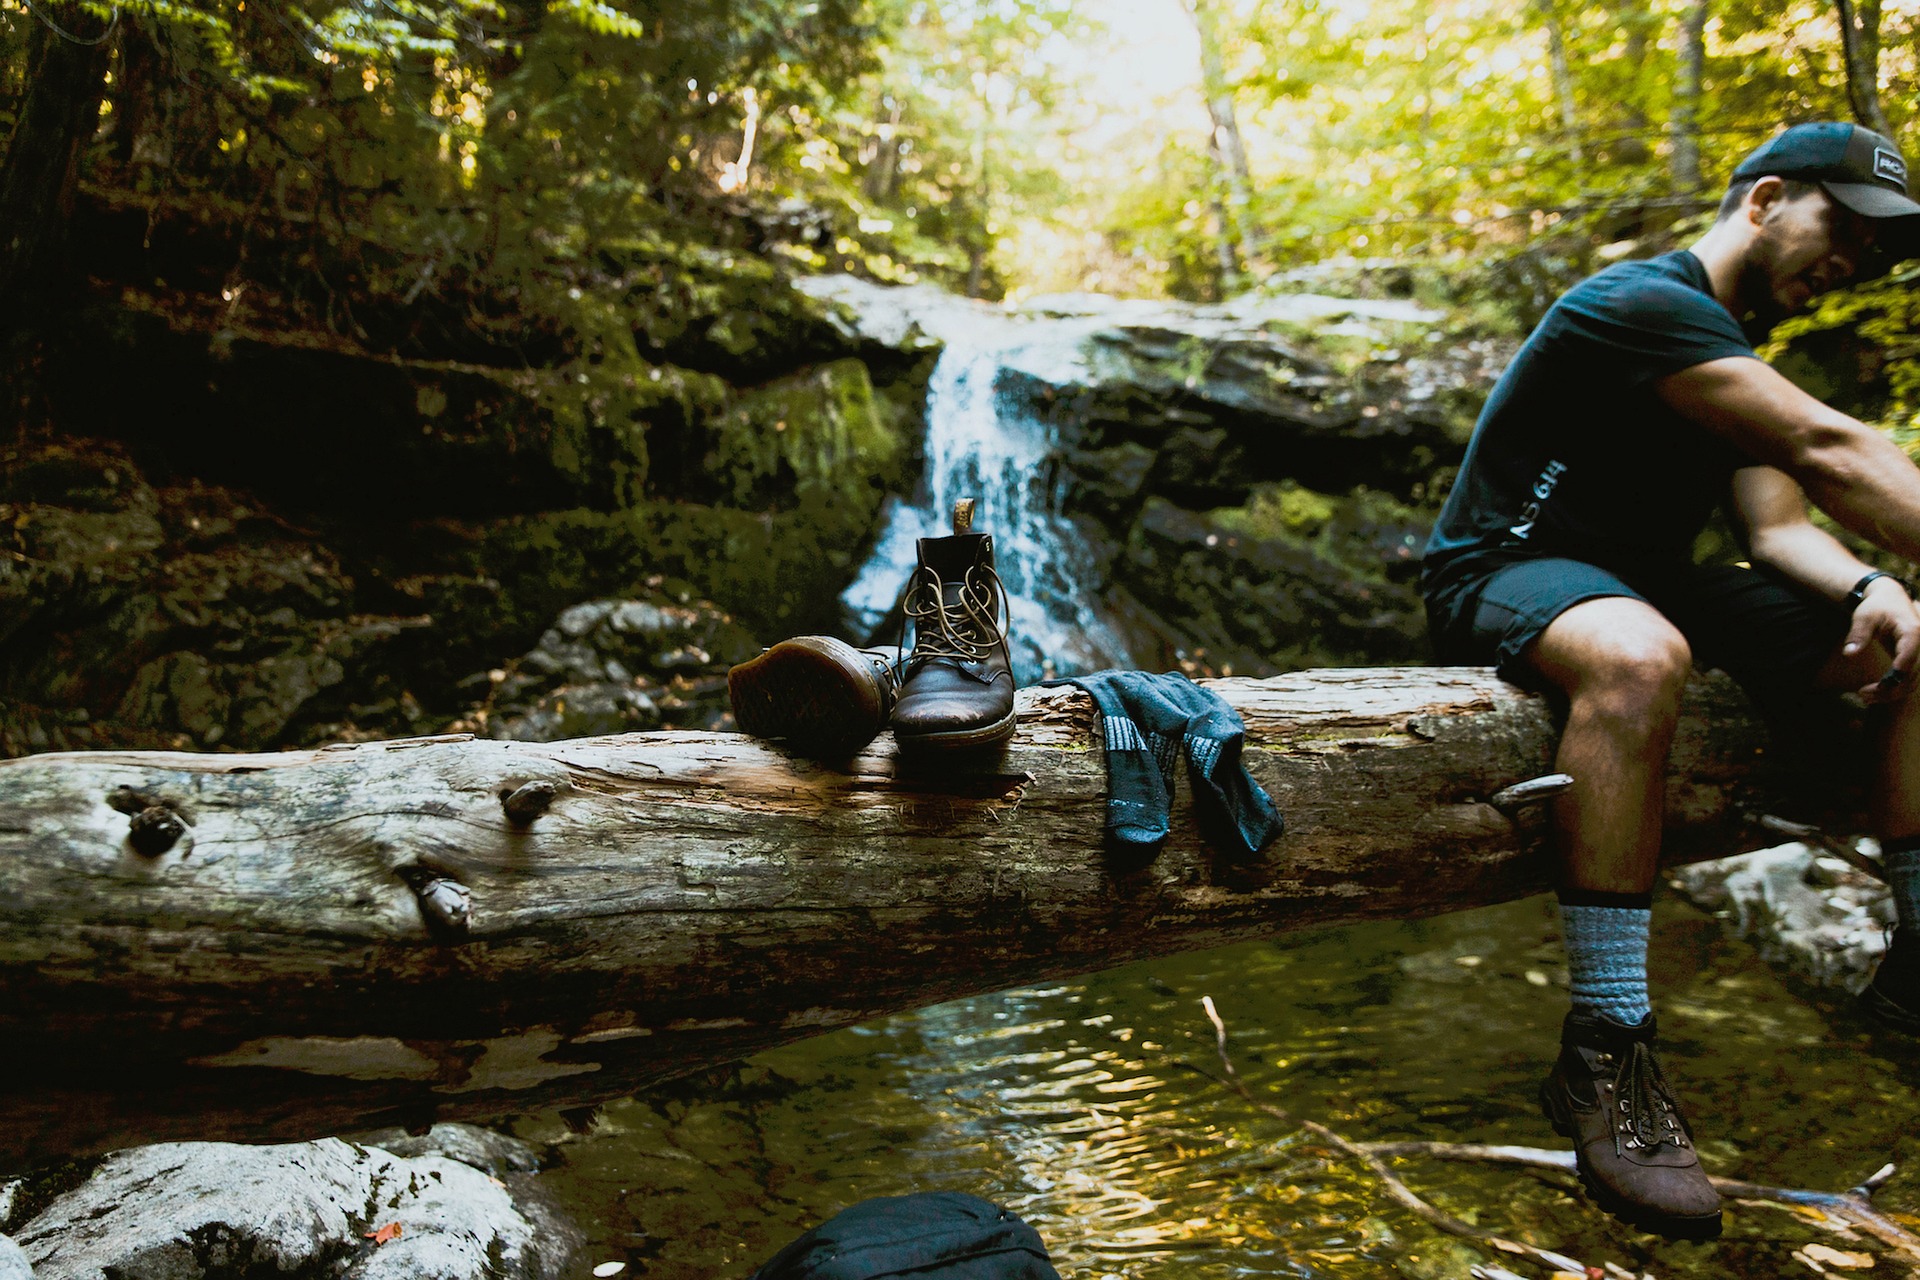
Speaking of the conditions on the trail, let’s move on to everyone’s favorite part of a good hike: walking with wet feet.
Get Your Boots Wet
No one enjoys walking in wet shoes, no matter how many times you do it.
All hiking shoes, from heavy Gore-Tex “waterproof” boots to the lightest alternatives, will all end up wet at some point when you inevitably end up hiking through the rain.
And while it may sound unpleasant, any good break-in for your new footwear should include covering a few miles with them good and wet to allow for any shrinking or expanding that may take place depending on their materials.
Hike in the wet, and then let your boots dry naturally. Next, take them out again and feel for any potential new hot spots that weren’t there before.
Don’t have any rainy days in the forecast?
No problem, the same goal can be achieved by dunking your boots in the sink or running them through the shower before putting them on your feet.
Ugh. Just the thought is unpleasant.
But again, you want to take every opportunity to get your feet acclimated to anything your new boots might throw at them upfront, rather than have it happen to you on the trail where you have less opportunity to adjust.
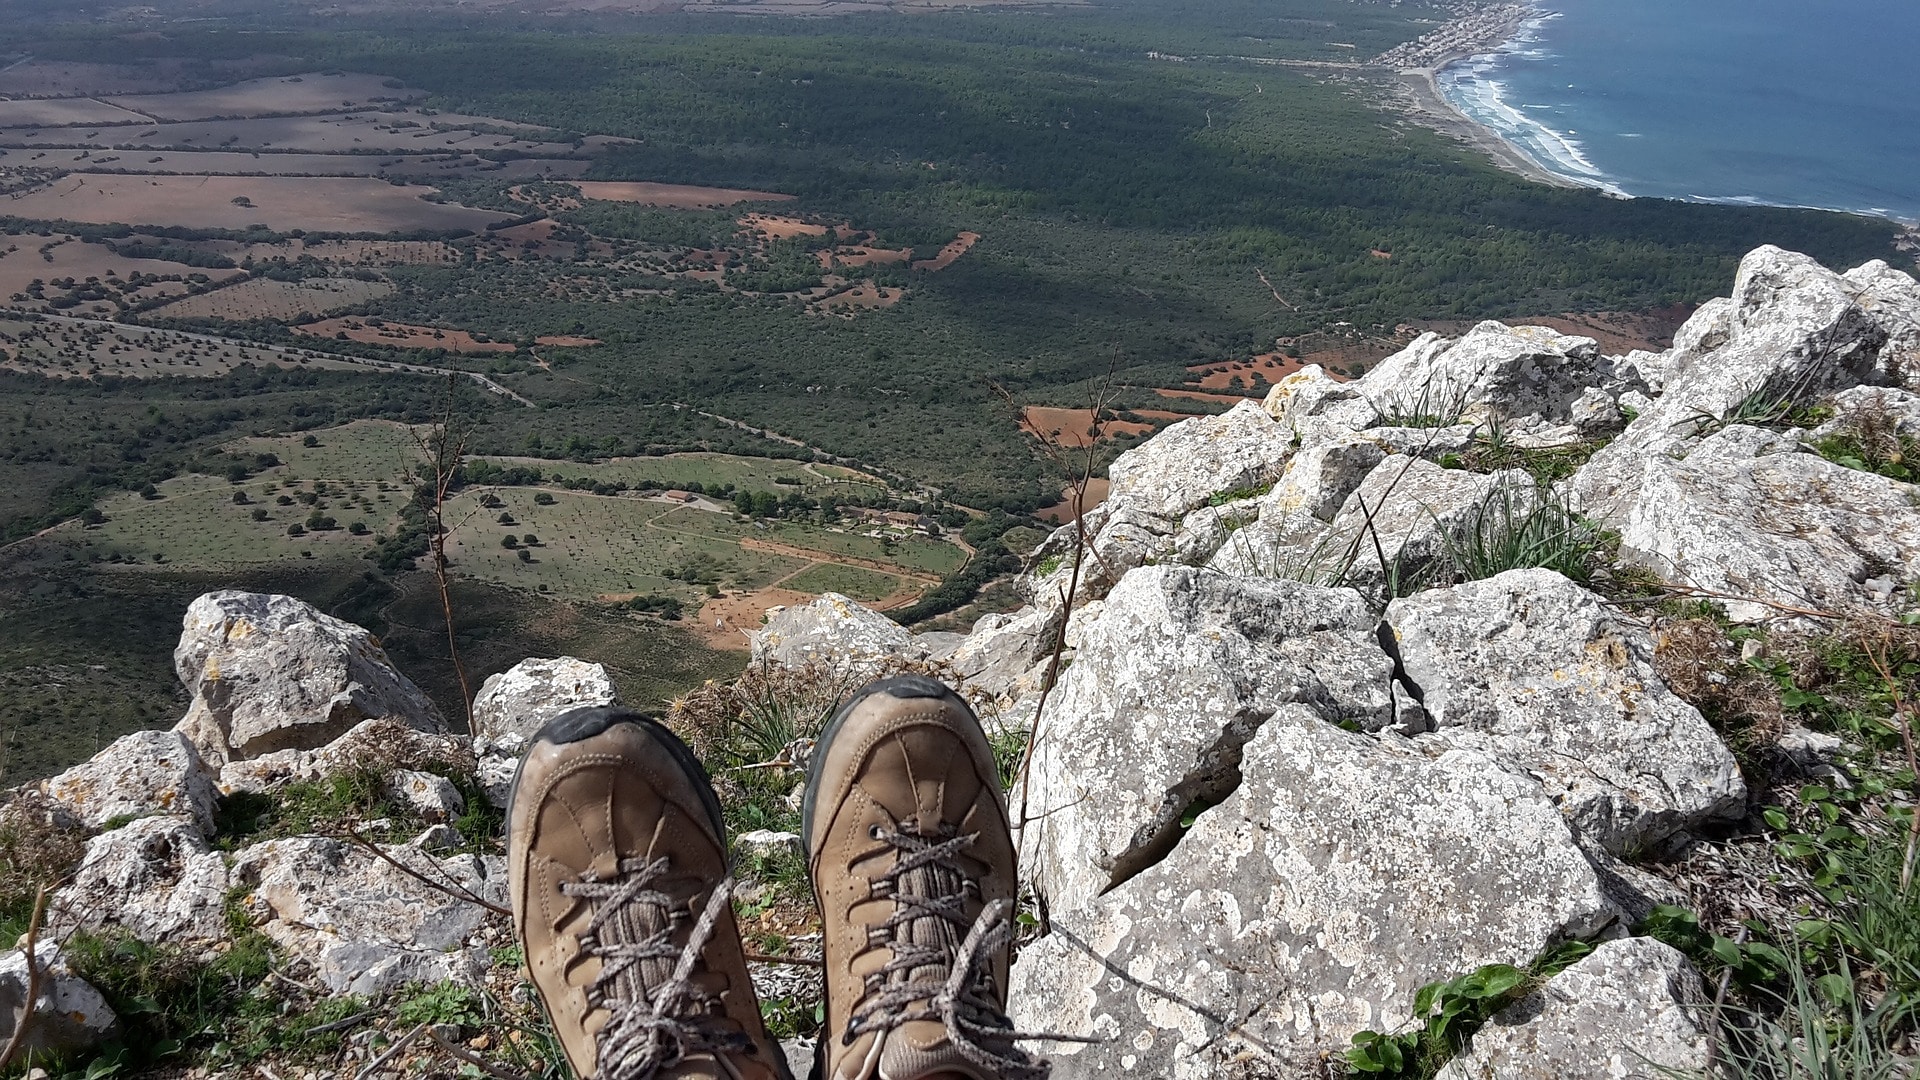
Once you’ve gotten to the point of covering distances over five miles comfortably, and have had your boots through at least one wet/dry cycle, you can confidently say you’ve broken them in, and are ready to hit the trail.
Now, let’s take a look at the two scenarios you’re likely to face when breaking in your boots depending on where you live.
Breaking In Your Hikers On Your Local Trails
Hitting your local trails is going to be the best option for breaking in your new footwear, as it will most closely simulate the conditions you intend to wear them in.
Start by identifying shorter trails in the area of just a few miles that are likely going to feature some amount of mild incline.
Including uphill and downhill hiking into your break-in period is important, because the stresses put on both your feet and your shoe when walking up and down an incline are different than simply traversing flat ground.
As you progress in distance as described above, be on the lookout for trails that are both longer and more strenuous, and cover the widest variety of terrains at your disposal.
The greater the variety of hiking you can put your hikers through during break-in, the better.
Not sure where to find your local trails? The American Hiking Society’s trail finder is a free resource and a great place to start.
But what if you don’t have access to any local trail systems?
READ MORE: 6 Key Tips for Hiking Safely
Breaking Your Hikers In Around Town
Whether you’re down to the wire before setting off on your trip or just don’t have any serious trails around where you live, breaking in your new footwear around town is a viable option too.
While you won’t get the full range of terrains like sand and rocks that make your footwear bend and stretch in unique ways, there are some hacks you can do to get a decent break-in in your neighborhood.
Look For Hills With a Fairly Steep Incline
Once you’ve knocked out your first short treks and are ready to start increasing your mileage, you’ll want to start looking for some good hills in your area to hike for the same reasons as above.
It will be helpful to find at least one good steep hill or section of hills around your home to log some miles on by walking both up and down.
Keep adding in more aggressive inclines where you can as you progress. Your feet will thank you later.
Get Creative Where You Can
Breaking in boots around town is all about looking for opportunities to add different foot-falls into your walks as they grow in distance.
Got a good staircase nearby? Throw on your pack and work that into the mix. Anything that resembles a different terrain can be beneficial, from city parks to rough sidewalks. See what you can find in your area to help mix it up.
Ultimately, walking around town isn’t going to be as ideal as hitting the trail, but again, once you get to the point that you can cover over five miles without developing any hot spots, you’re going to be much more prepared than you would have been attempting your hike with boots right out of the box.
Pin it for later!