Thinking about how to set up an RV campsite can be an overwhelming experience. YouTube is helpful to a point. Still, doing it the first time can be a scary process.
While everyone sets up a little differently, here’s how I do it for my home away from home.
Check-in At The Campground
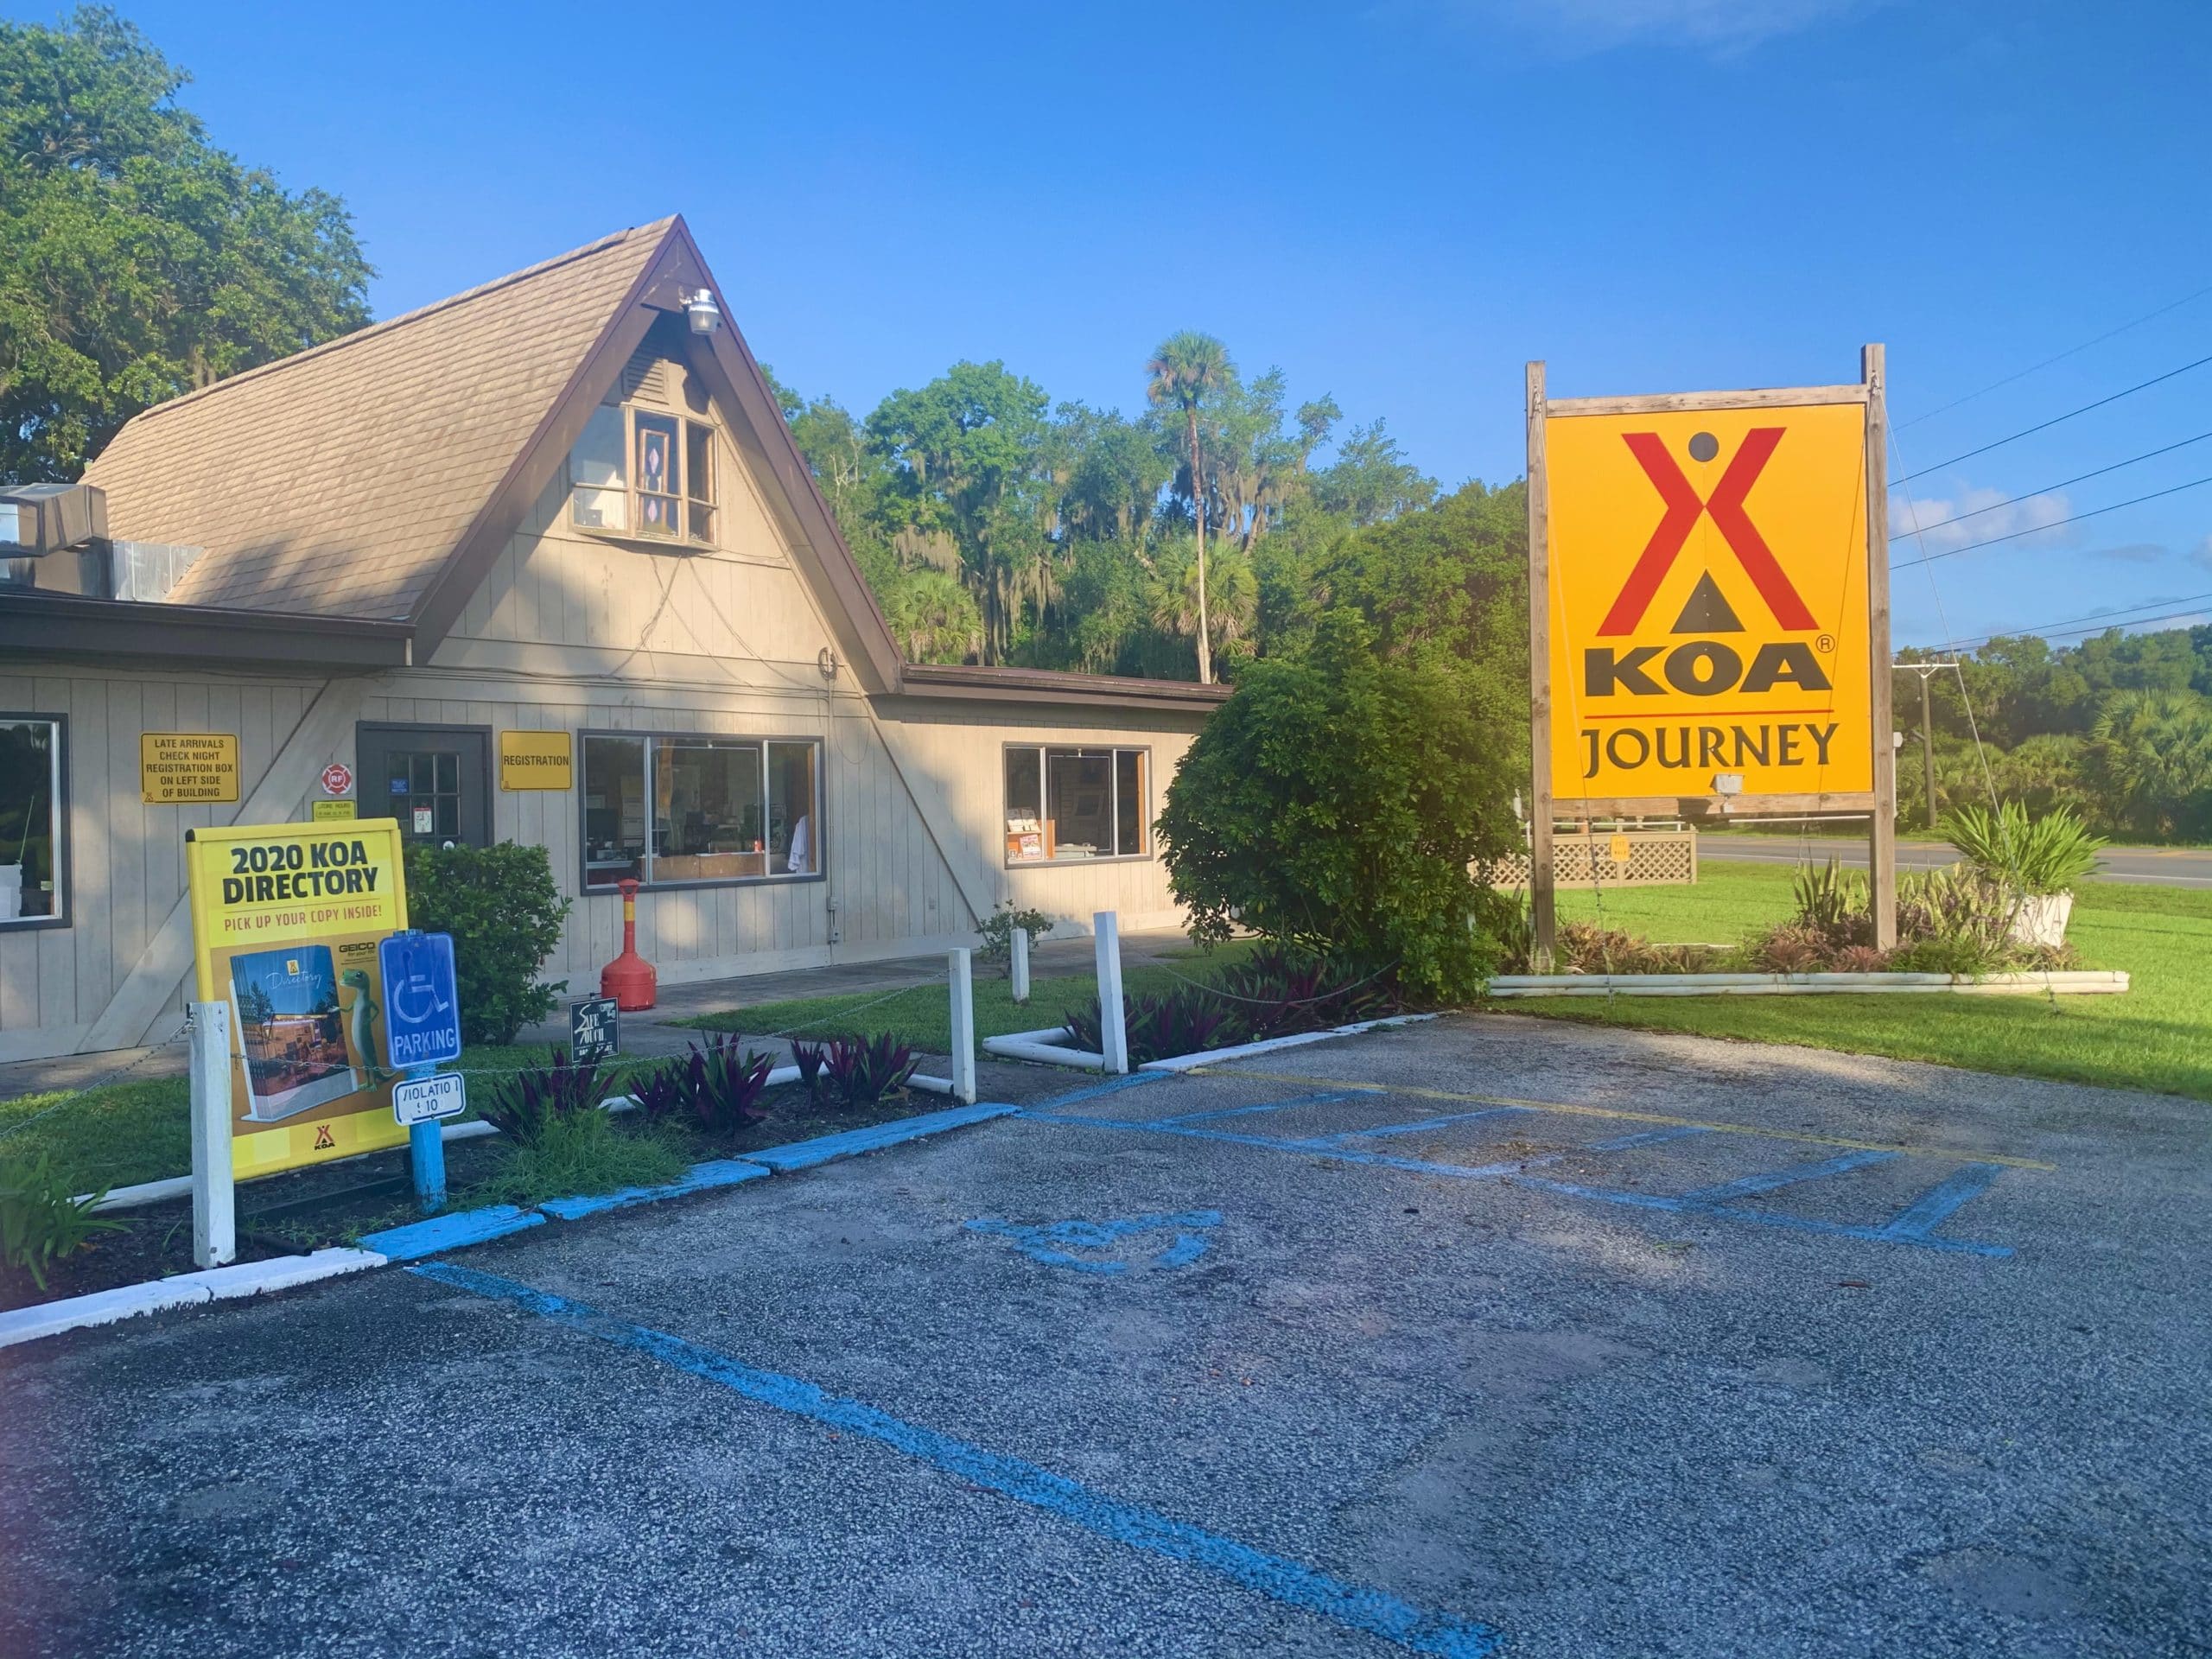
On arriving at the campground, you’ll check-in, pay for the stay in full, and be assigned your RV campsite. You’ll get a map of the grounds plus more information about your particular site and currently offered amenities at the campground.
REVIEW: St. Marys, Georgia KOA Campground
This is a great time to ask questions. Remember, there is no such thing as a stupid question. Don’t hesitate to mention you are new to the world of RV’s. The first thing I ask is, “How close is my RV campsite to the bathing facilities?”.
Depending on the campground, someone will either lead you to the campsite or provide specific directions. If you are all turned around and not sure where to go, ask to be led to your site. This will be no problem at all.
| Tip: When making a reservation, if backing your camper into a site is challenging, ask if they have ‘pull-through’ sites available or a location far away from other campers. No backing up required. Some campgrounds are set up like a giant parking lot |
Arriving at Your Assigned RV Campsite
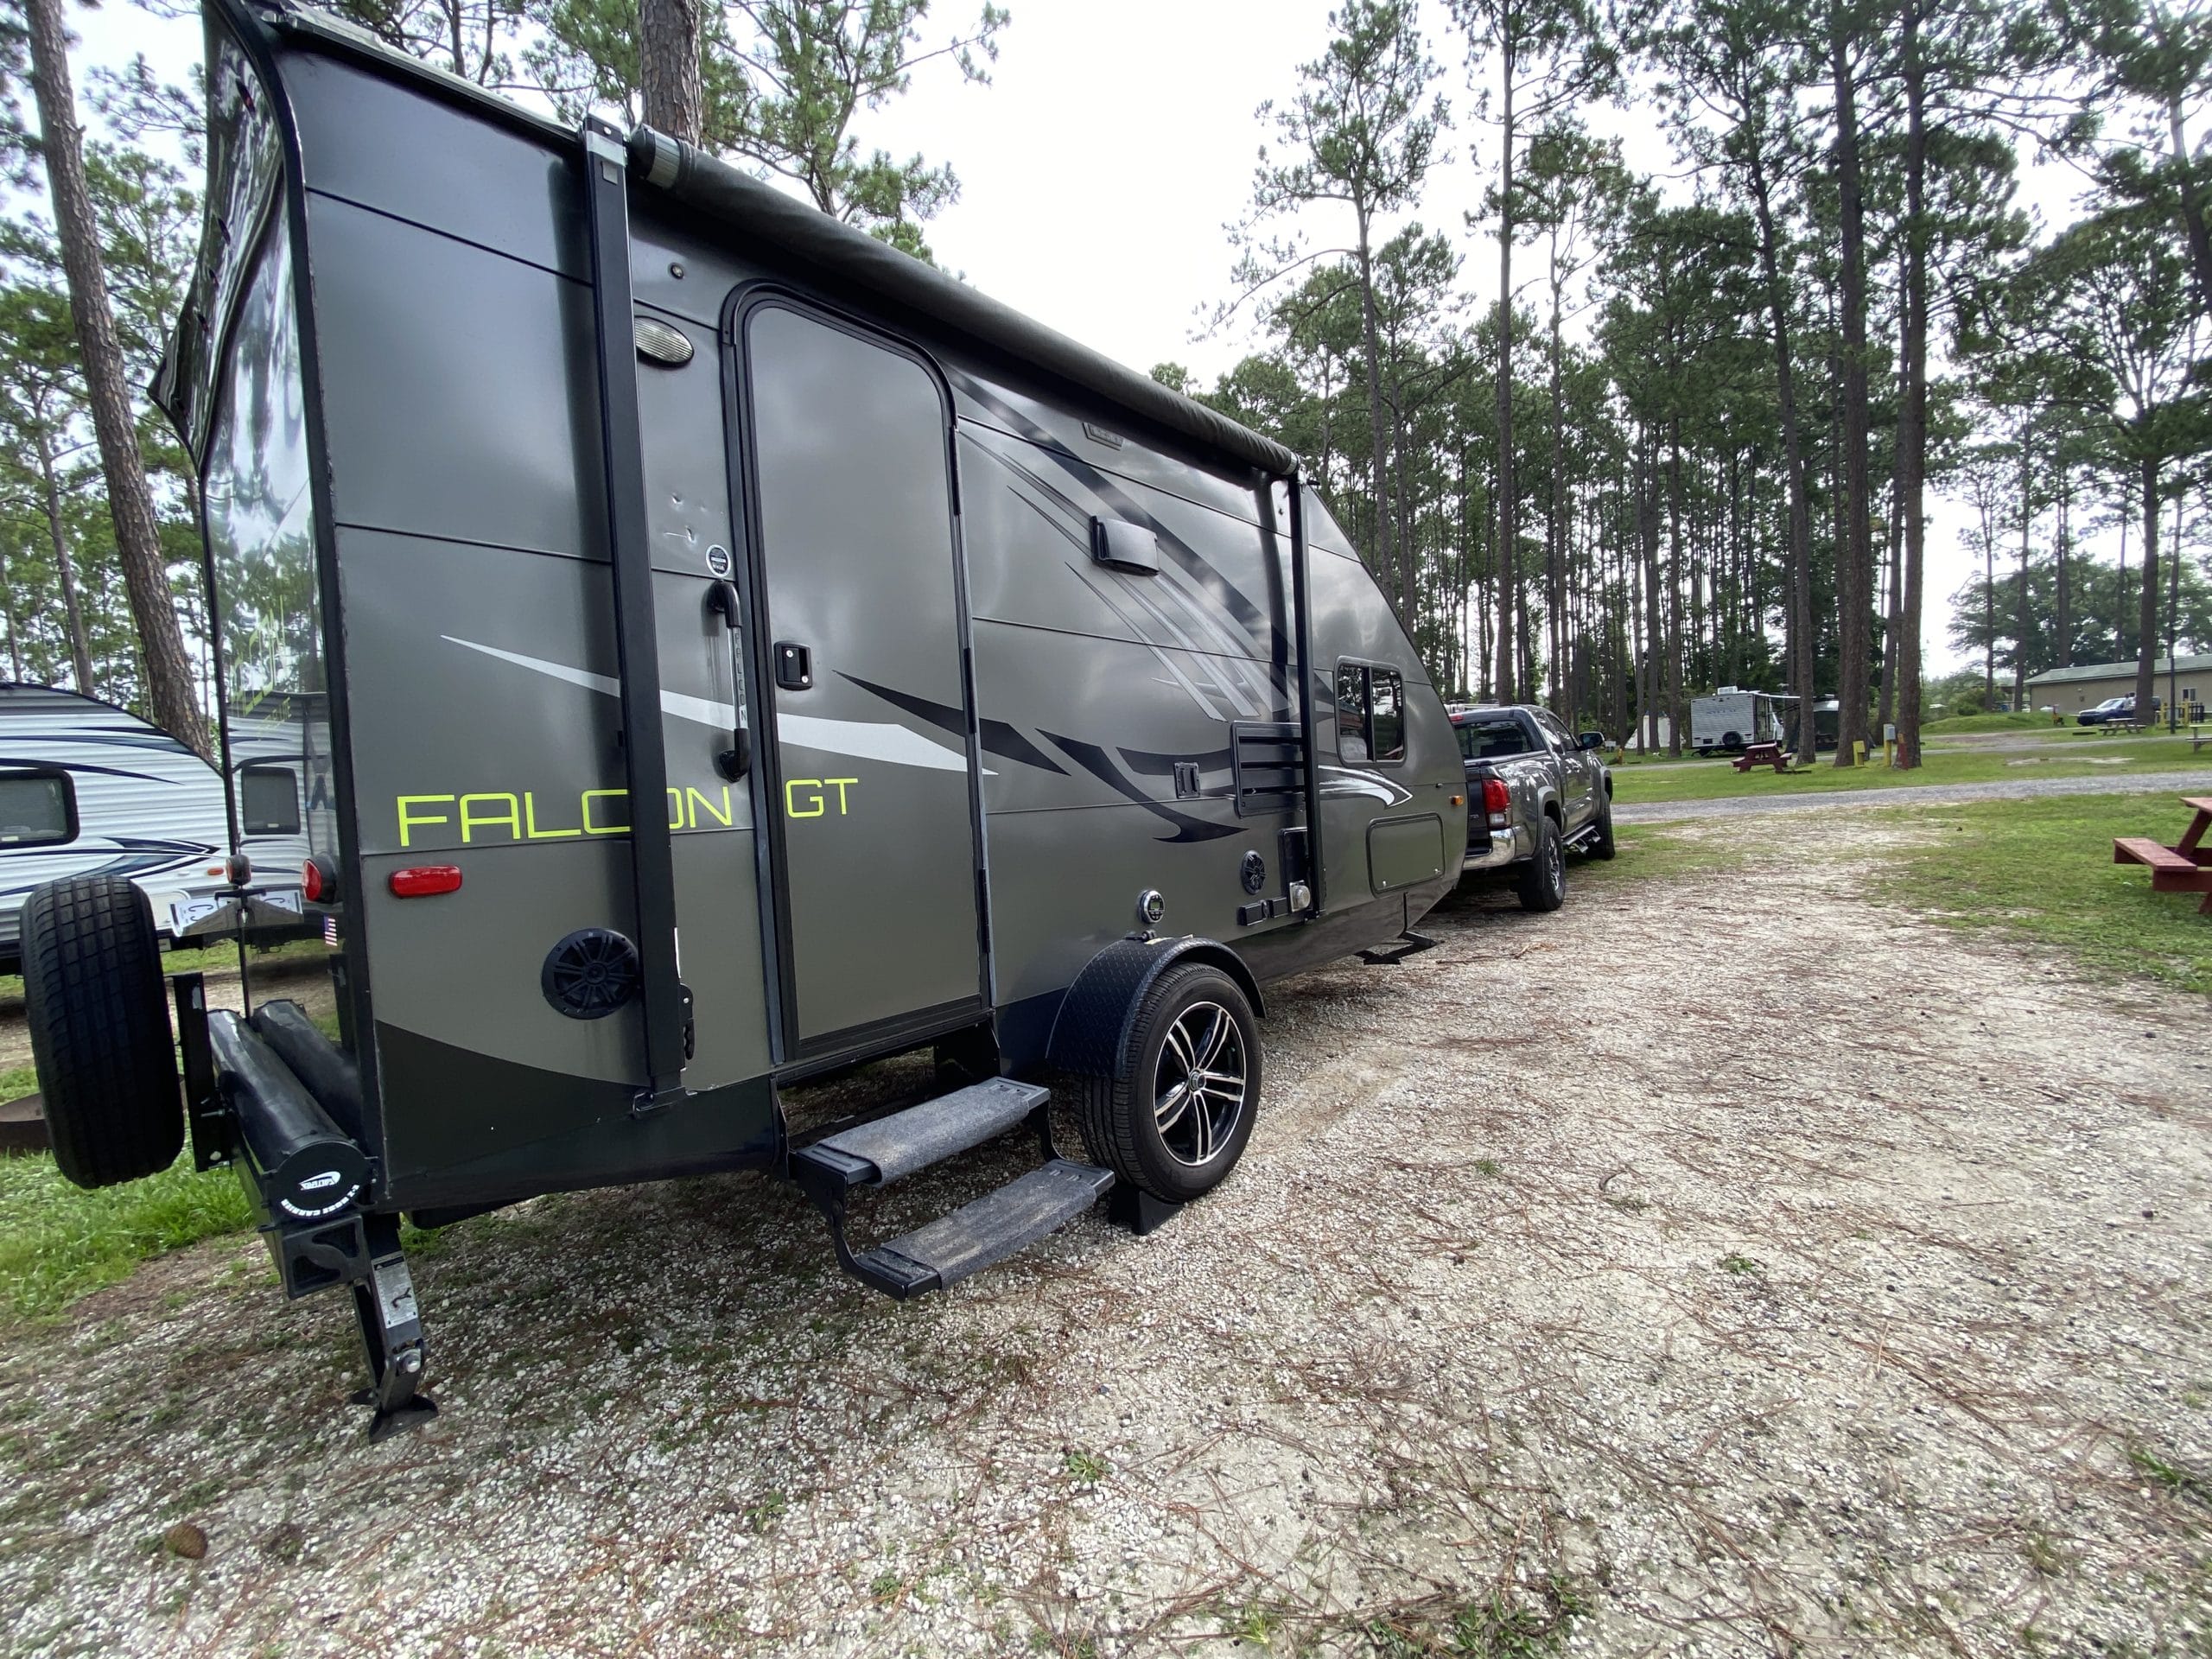
Before positioning at the assigned site, inspect it. Looking up, be sure there are no low branches or wires. This is uncommon because most wires are underground at campgrounds.
Still, you never know when a gust of wind can knock down a limb or wire. Looking down, be sure there you won’t run over something that could damage your rig. If anything looks out of place, notify the front desk immediately.
After you see that it’s clear of obstructions and see what side your hook up lines are on, you can back in your trailer. If you’re traveling alone, don’t be afraid to ask a park worker or neighboring camper to assist you in backing up.
Leveling The Travel Trailer At Your RV Campsite
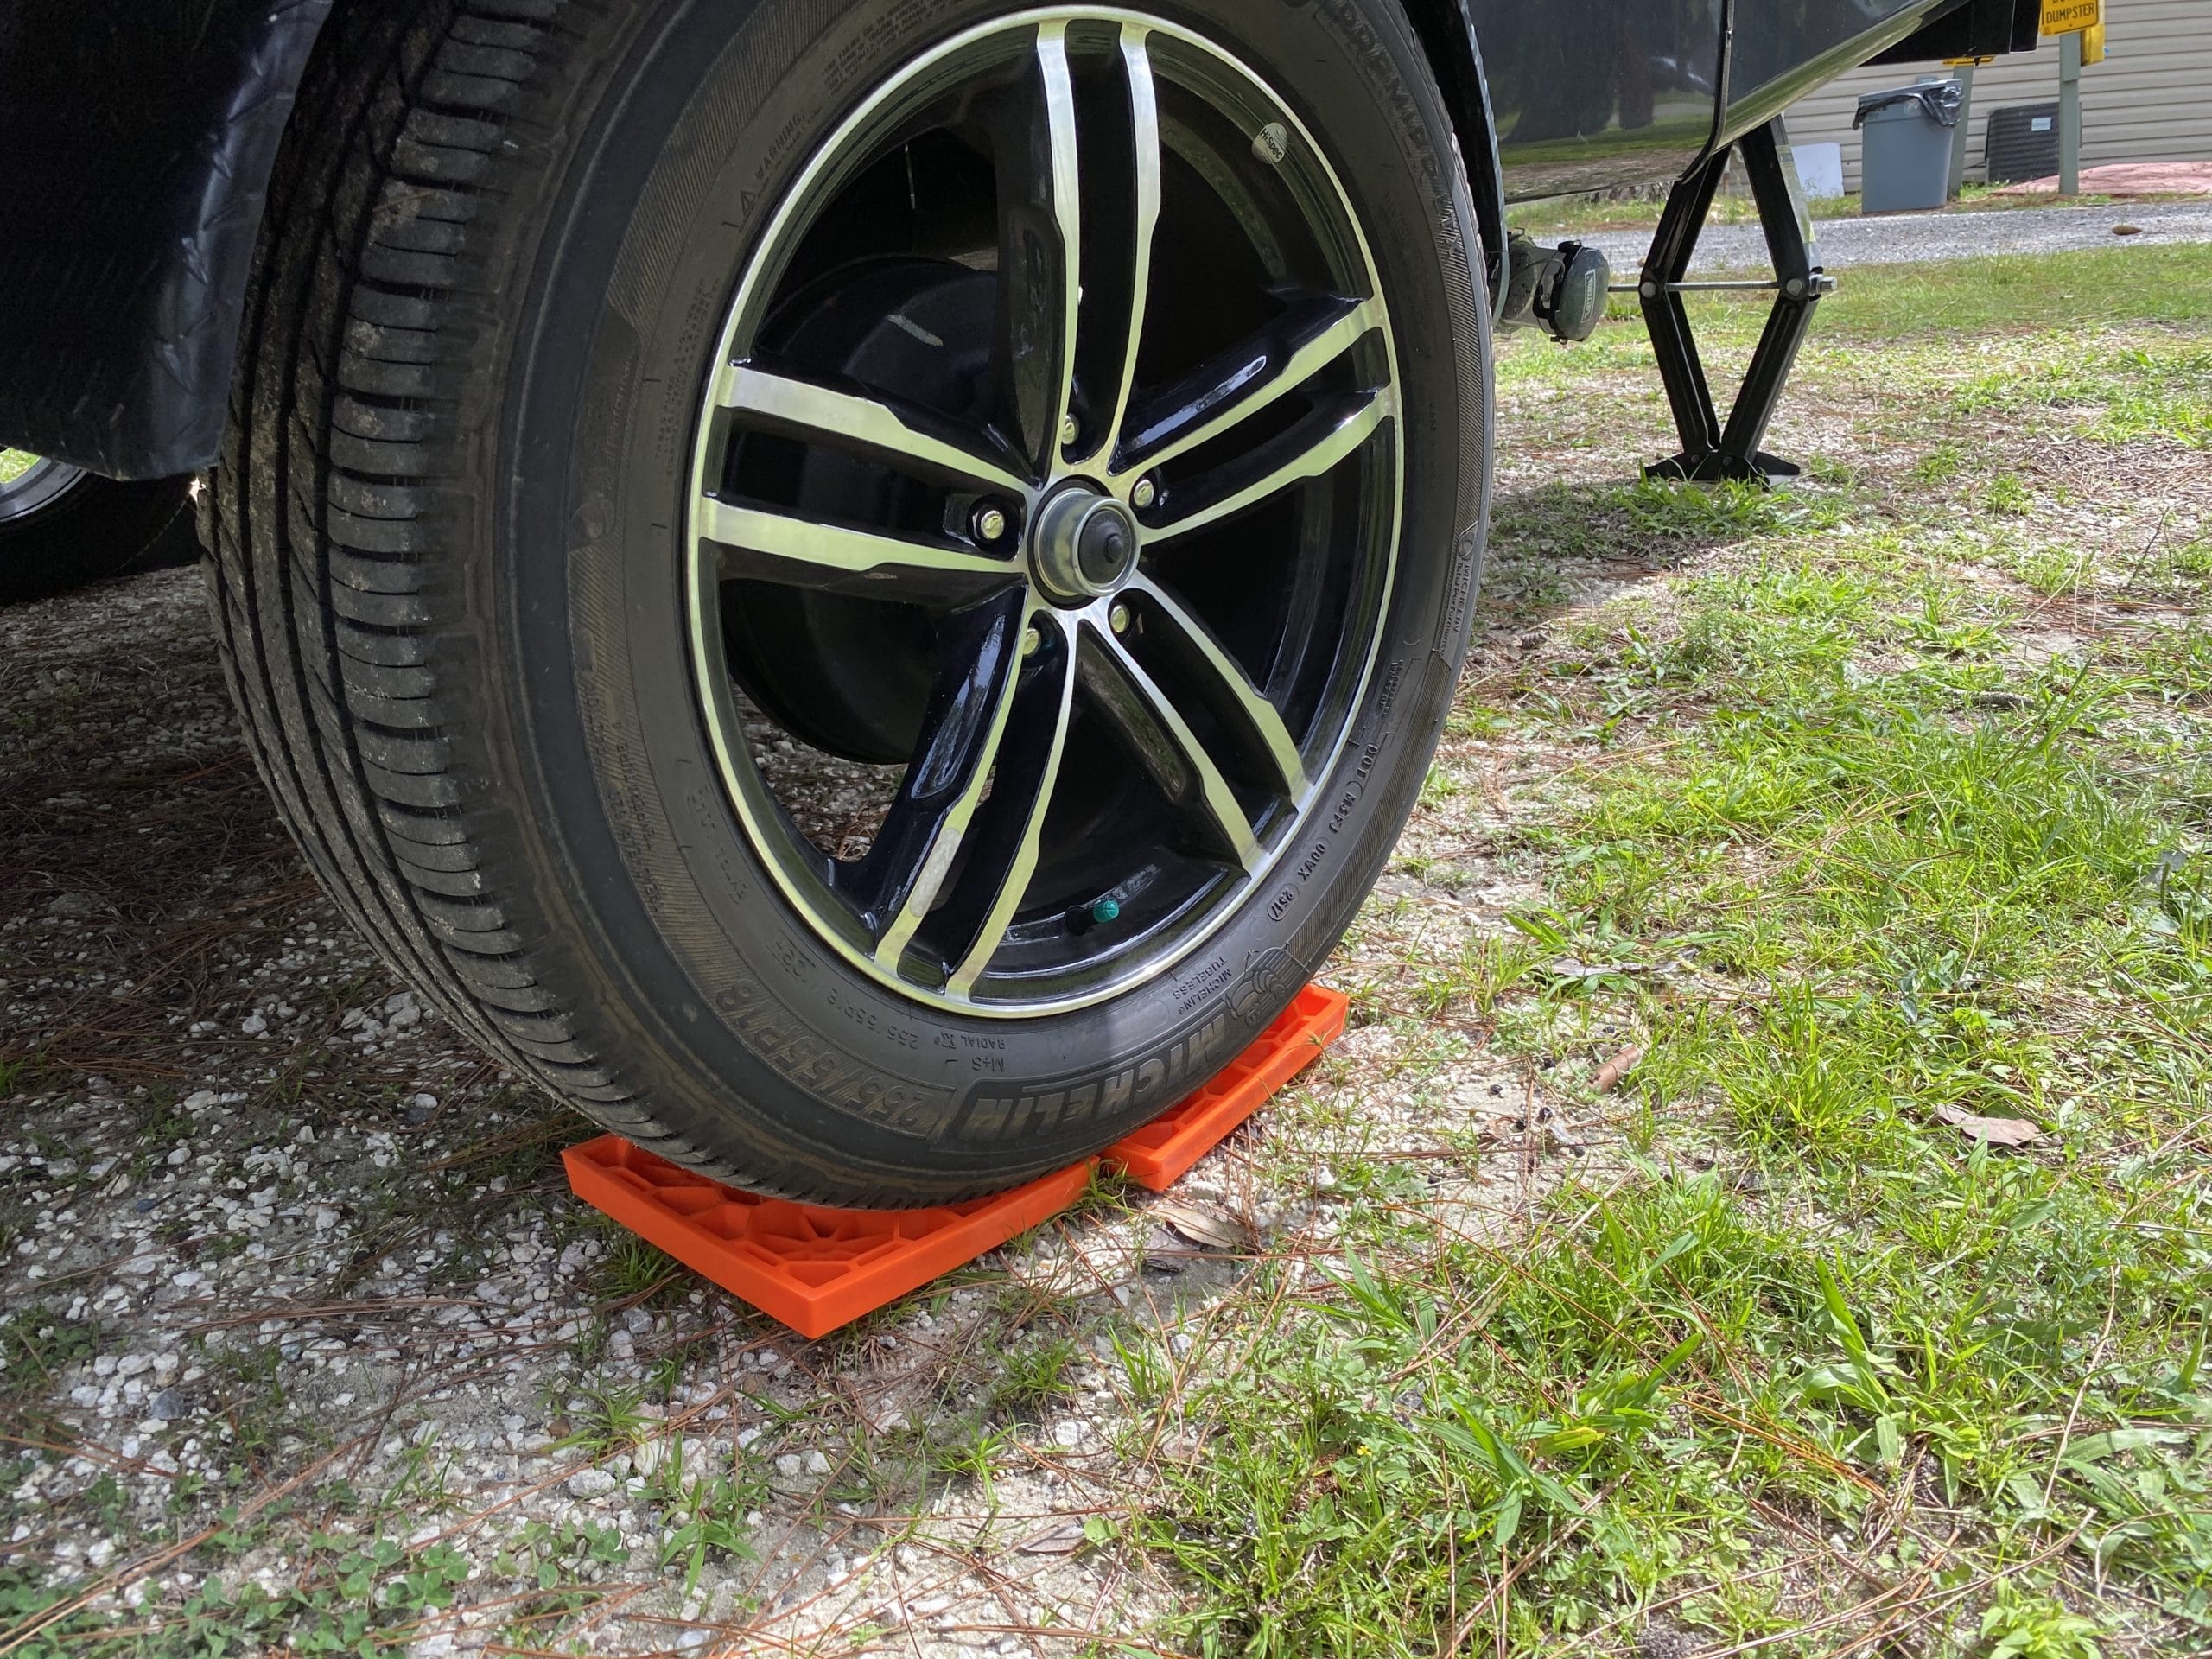
It’s very important to make sure your camper is on level ground for a couple of reasons. First, you’ll want your shower water to drain correctly and not puddle to one side of the shower. Also, refrigerators that are not level could cause cooling issues. Check your refrigerator owner’s manual to see how level it should be. Most manufacturers suggest being off no more than three degrees.
Once you’re fully backed in, level your camper from left to right. This is done by placing a level on your bumper and looking for the bubble to be within the bull’s eye.
After your camper is level from left to right, disconnect from the hitch, unhook the safety chains, and lighting wires, and start leveling your camper from front to back.
Lowering The Stabilizers
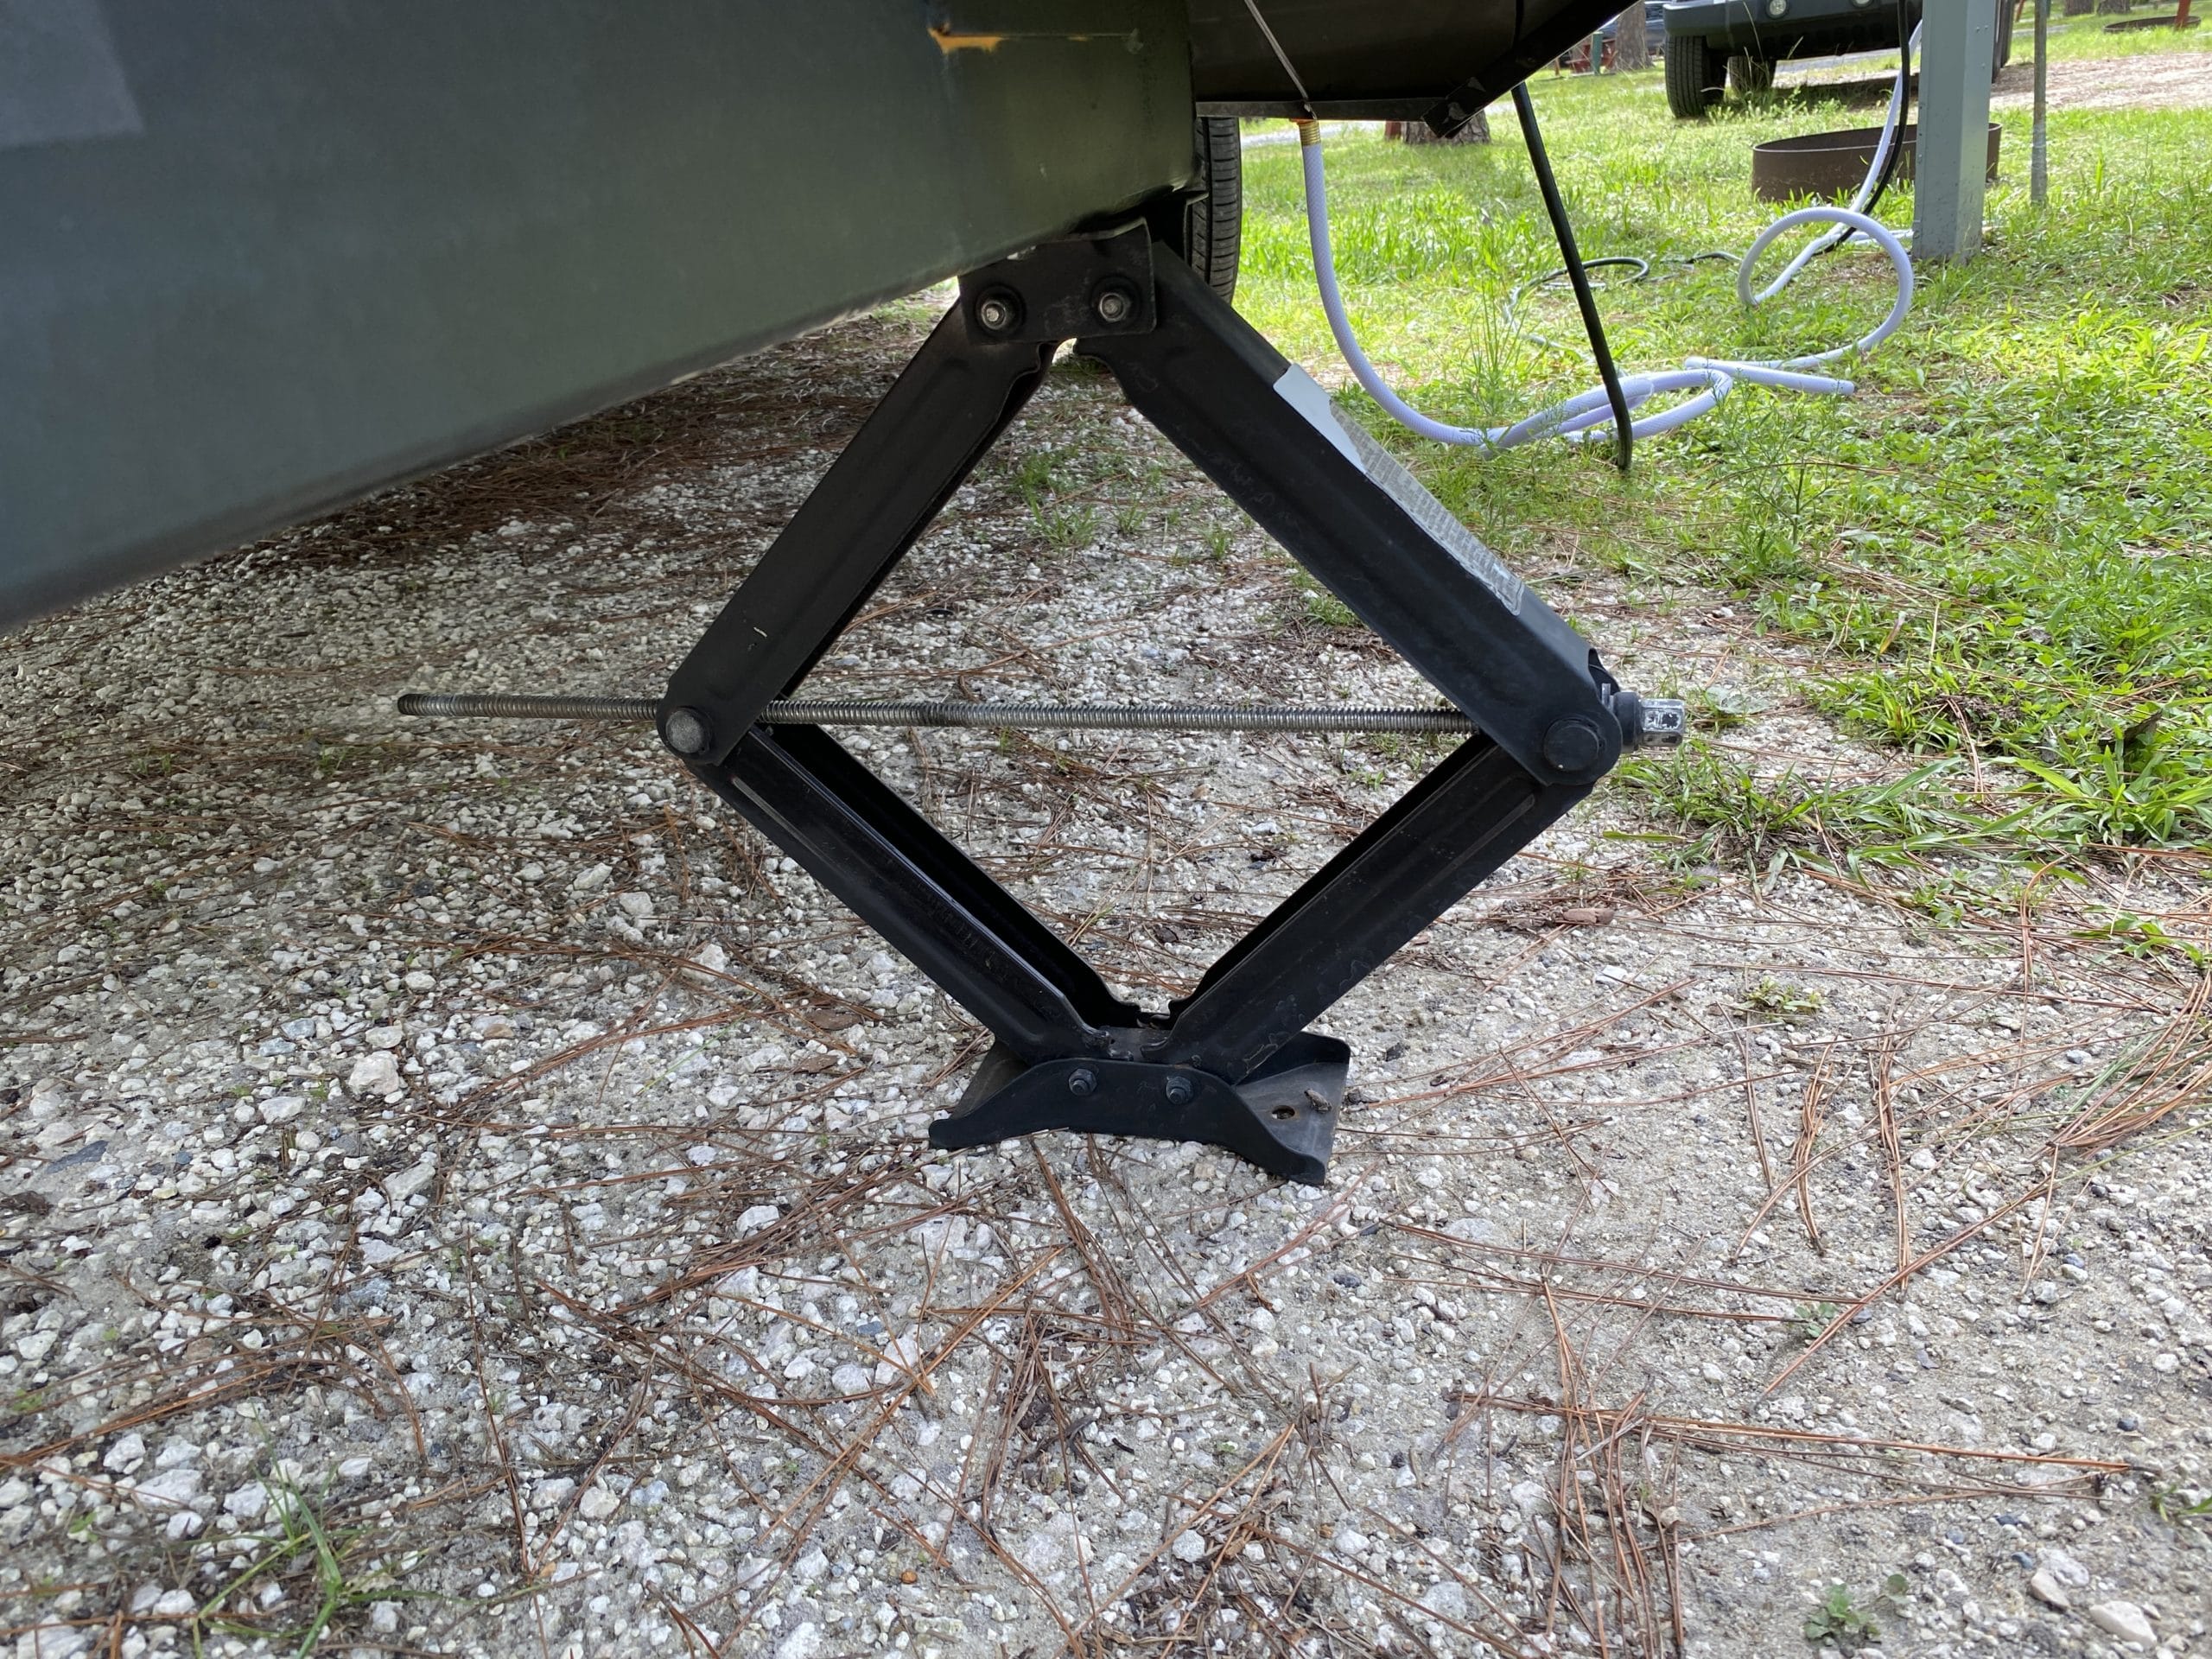
If so equipped, stabilizers are on the four corners of the camper to keep the unit stable. They are not jacks and should not be used to try to level your camper. These are merely legs of support.
A good rule of thumb is once the stabilizer makes contact with the ground, give it one more turn for good measure. Once the unit is level, you can now extend your slider(s) once you have power.
Connecting Utility Lines
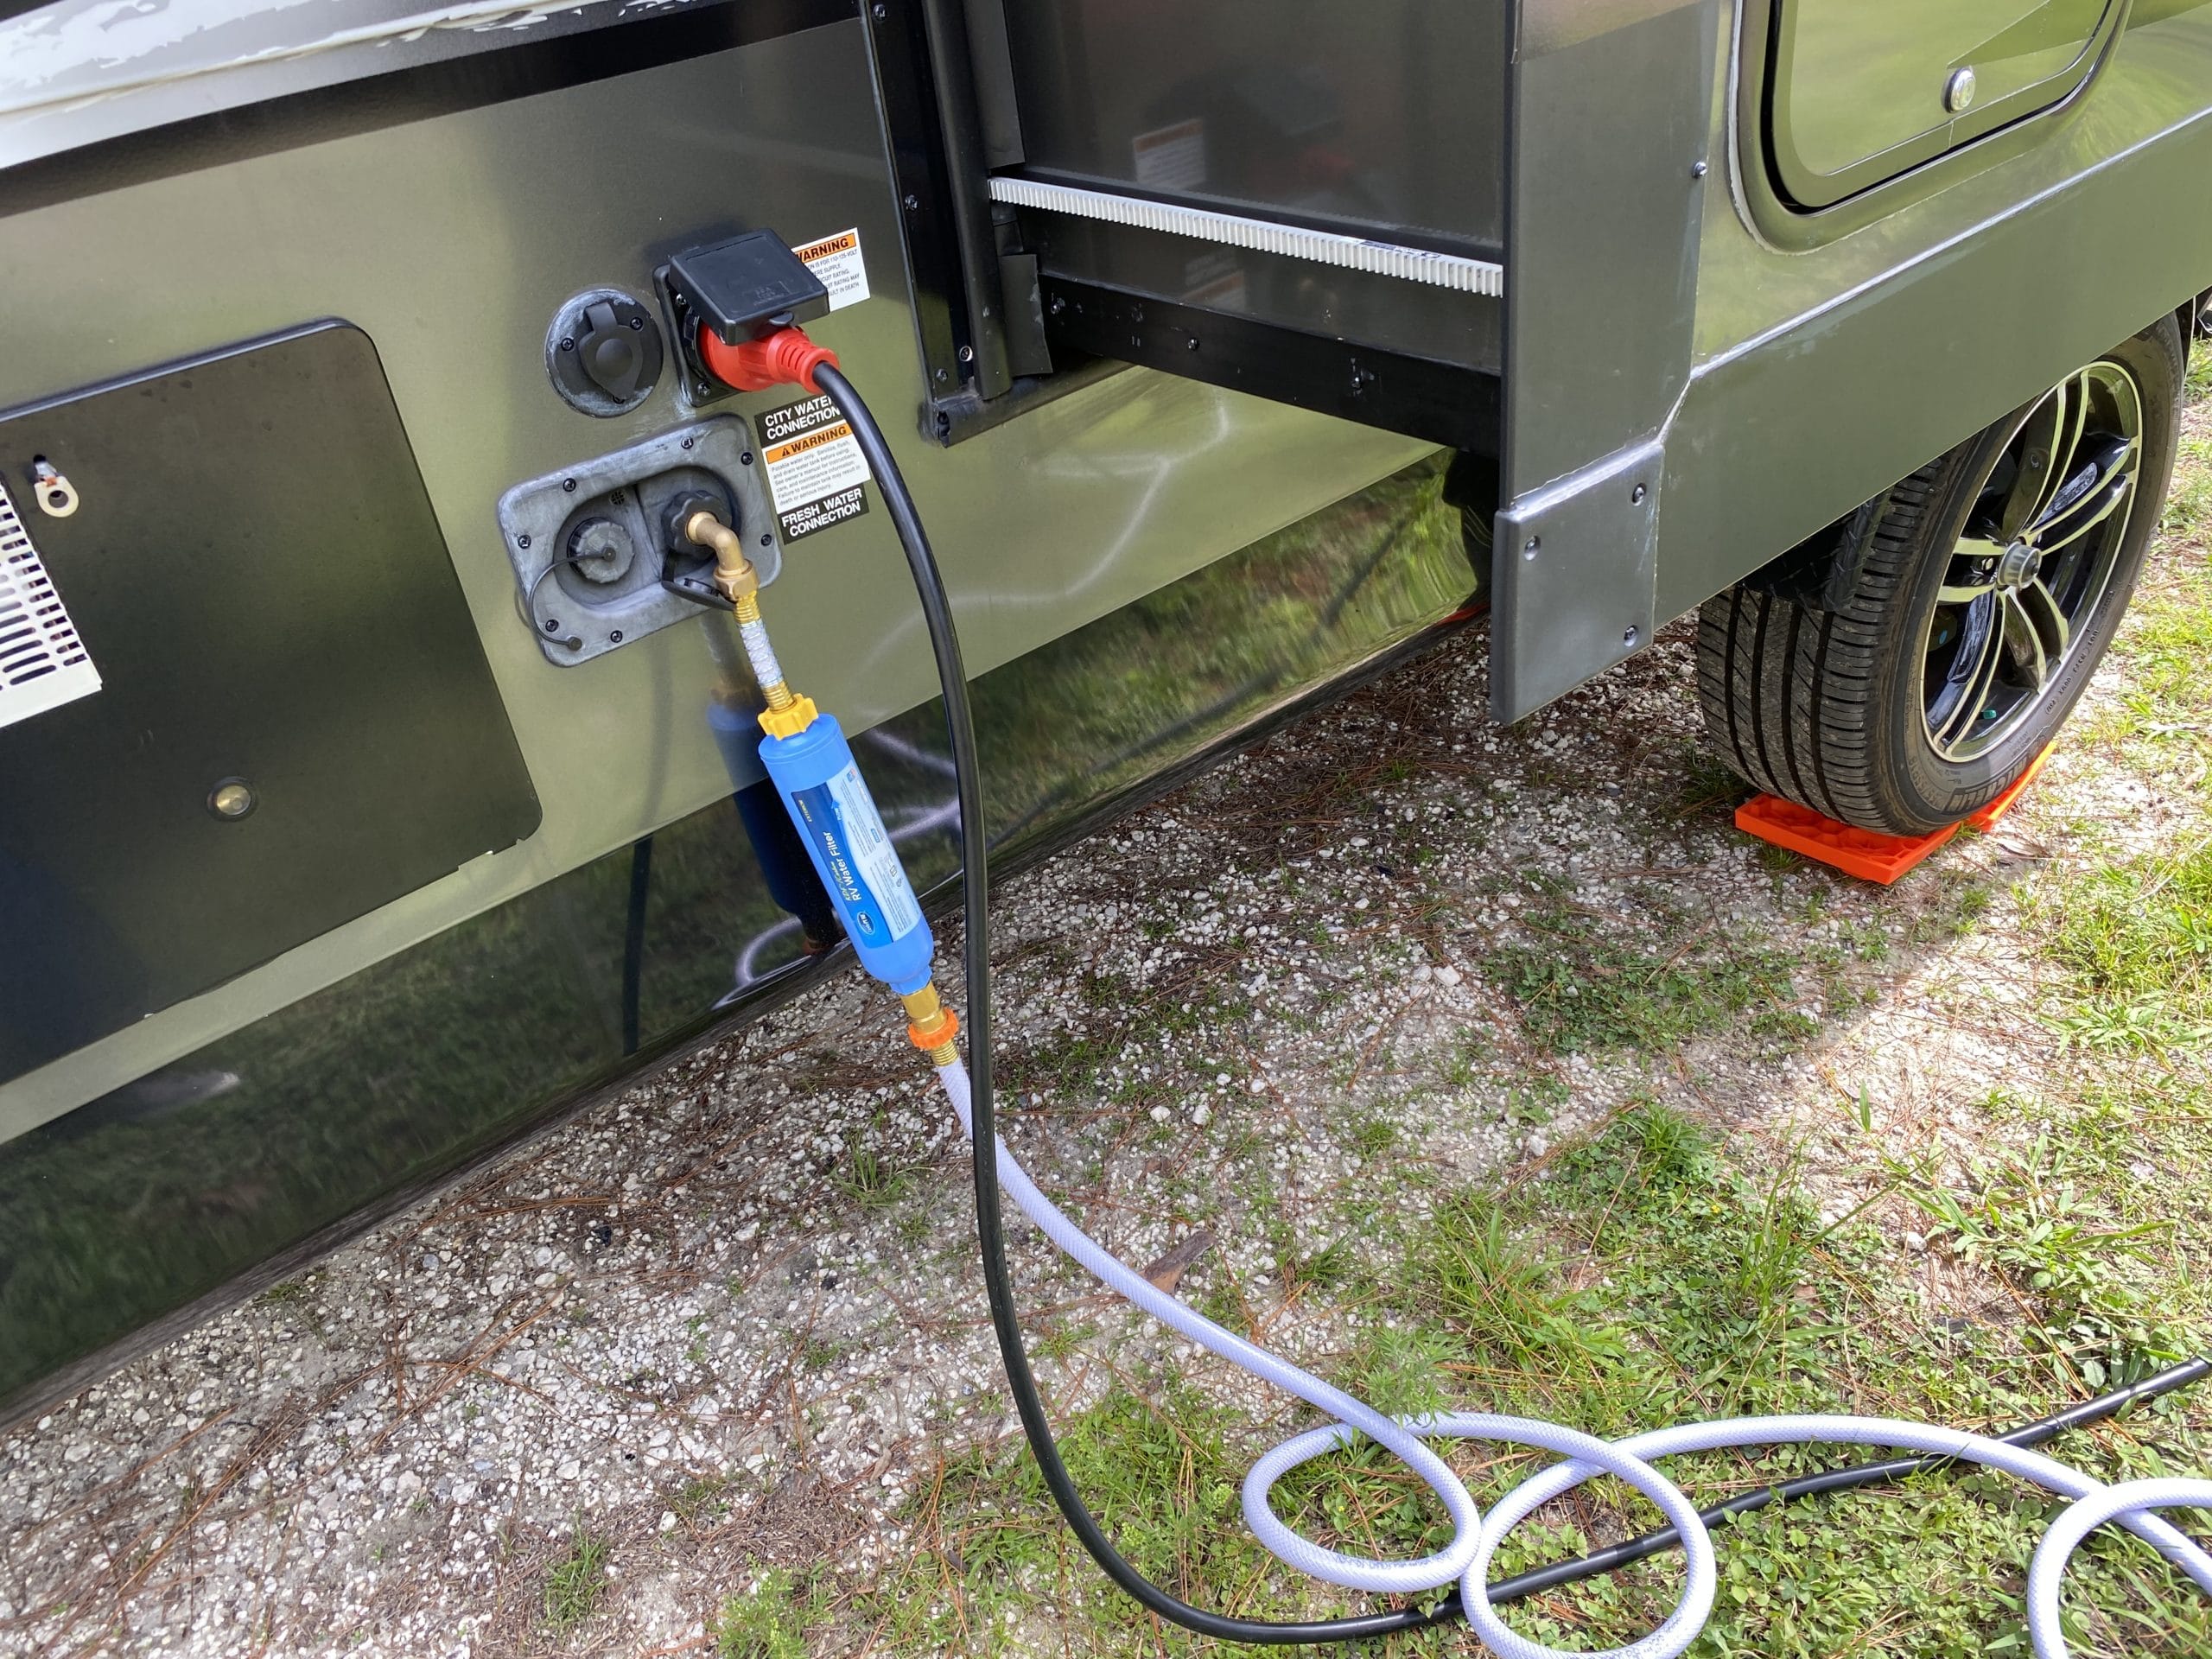
Depending on what kind of campsite you booked, it’s now time to run the utility lines which can include water, power, sewer, and cable TV lines. Some campgrounds may have all of those, some may not.
The power box will either be 30 or 50 amp hookup and will run from the campsite power pole to your unit.
Once the water and sewage line is connected, you can run the cable line (if your RV campsite offers). You will have to bring your own coaxial cable if you wish to tap into their network.
Tip: I prefer to hook the power unit up first because I can immediately turn the air conditioner on and let the camper cool down (or warm-up) while I’m connecting the freshwater and sewer drain hose.
Extend Your Awning
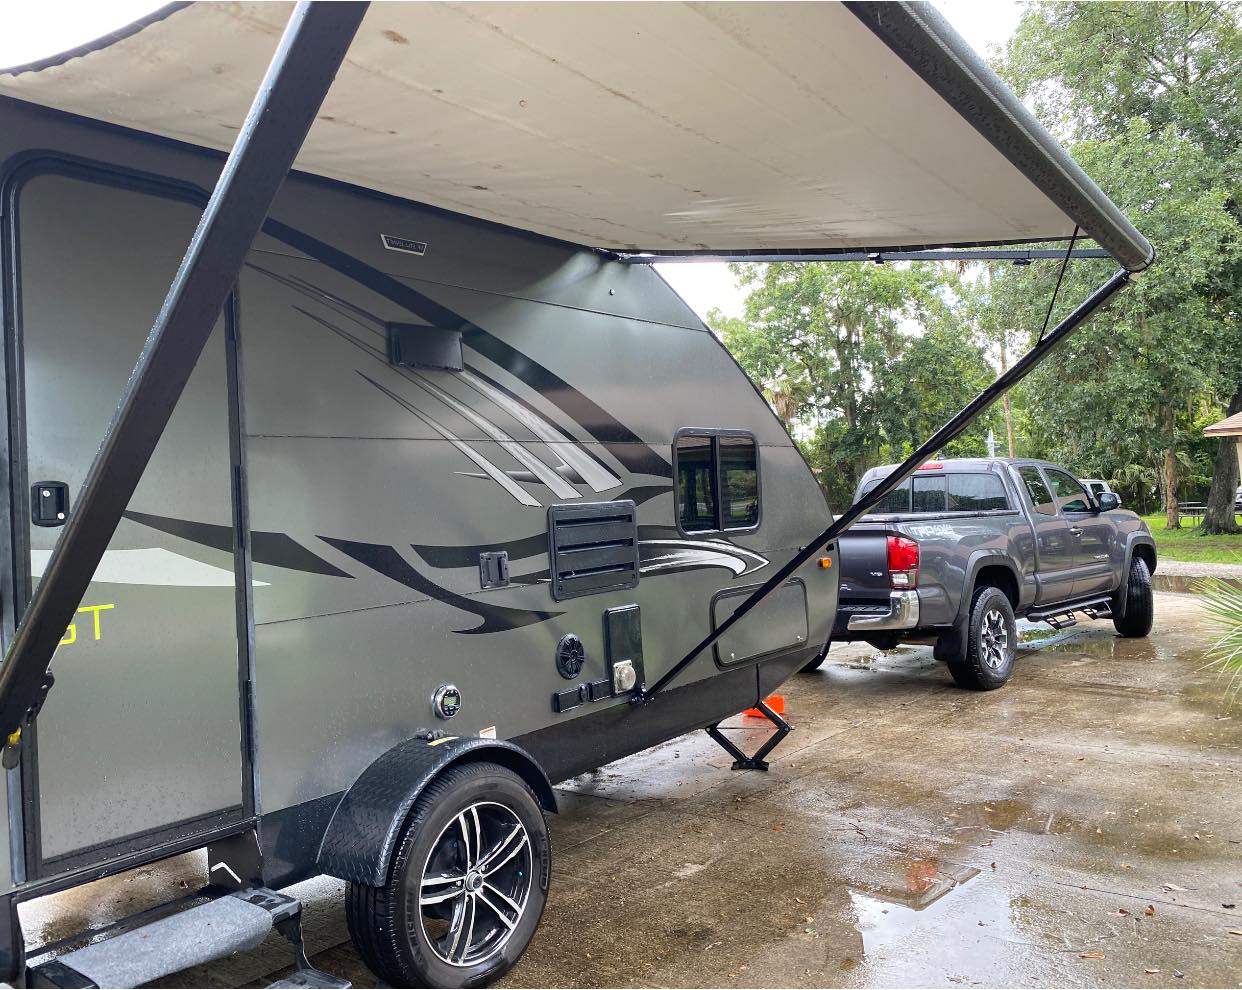
You’ve reached the point where you can put out your awning and set up the outside of your unit. Watch the weather before you set your awning up, especially if it’s a manual one.
My first time out with my camper, the RV that was parked behind me lost his awning in a Florida thunderstorm. It ripped it right off the side of his RV.
Tip: It’s also good to retract the awning at night and when you leave the site for long periods of time in case there is any unexpected weather.
Final Walk Around Of Your RV Campsite
Your RV campsite is officially set up. Now, do one final arrival walk around to make sure everything is in its place and nothing was overlooked.
For this, I start at the hitch of the camper to make sure the hitch is locked, the propane is on/off, and no wires are hanging.
Moving back, check to make sure all the outside compartments are locked, the awning is secure, all the jacks are down, and the entry steps are locked into place.
Finally, check all the water and sewer lines to make sure they are not leaking.
READ MORE: 12 Accessories You Need For A Camper
Keep in mind when considering what others do: not everyone sets up their site the same. Mainly because there are just so many different RV’s, each with different features.
Ask me about this procedure a year from now and odds are I will be doing it differently because I got better at it. You will too.
Still, a walk around the campground to see what others do can bring some great ideas to apply at your ‘home’ too.
Pin it!
