Getting a blister while hiking is no fun, and, if we’re being honest, neither is blister first aid. But when you’re still miles from camp or the nearest town, knowing how to take care of your feet is paramount.
While prevention is going to be your greatest ally in the fight against blisters (choosing the right sized footwear, proper breaking in of both boots and feet, wearing the right socks, and keeping your feet clean and happy), on a long enough hike blister are seemingly inevitable for even the most seasoned hikers, and will have to be dealt with.
A good first aid kit is part of the ten essentials of backpacking gear, and any complete first aid kit is going to need to include everything you’ll want to both prevent and treat the blisters that can form on your feet.
In this article, we will dive into what components should be included in your first aid kit for adequate foot care, as well as how to put that kit to use when hot spots and blisters inevitably arise.
Elements Of A Blister First Aid Kit
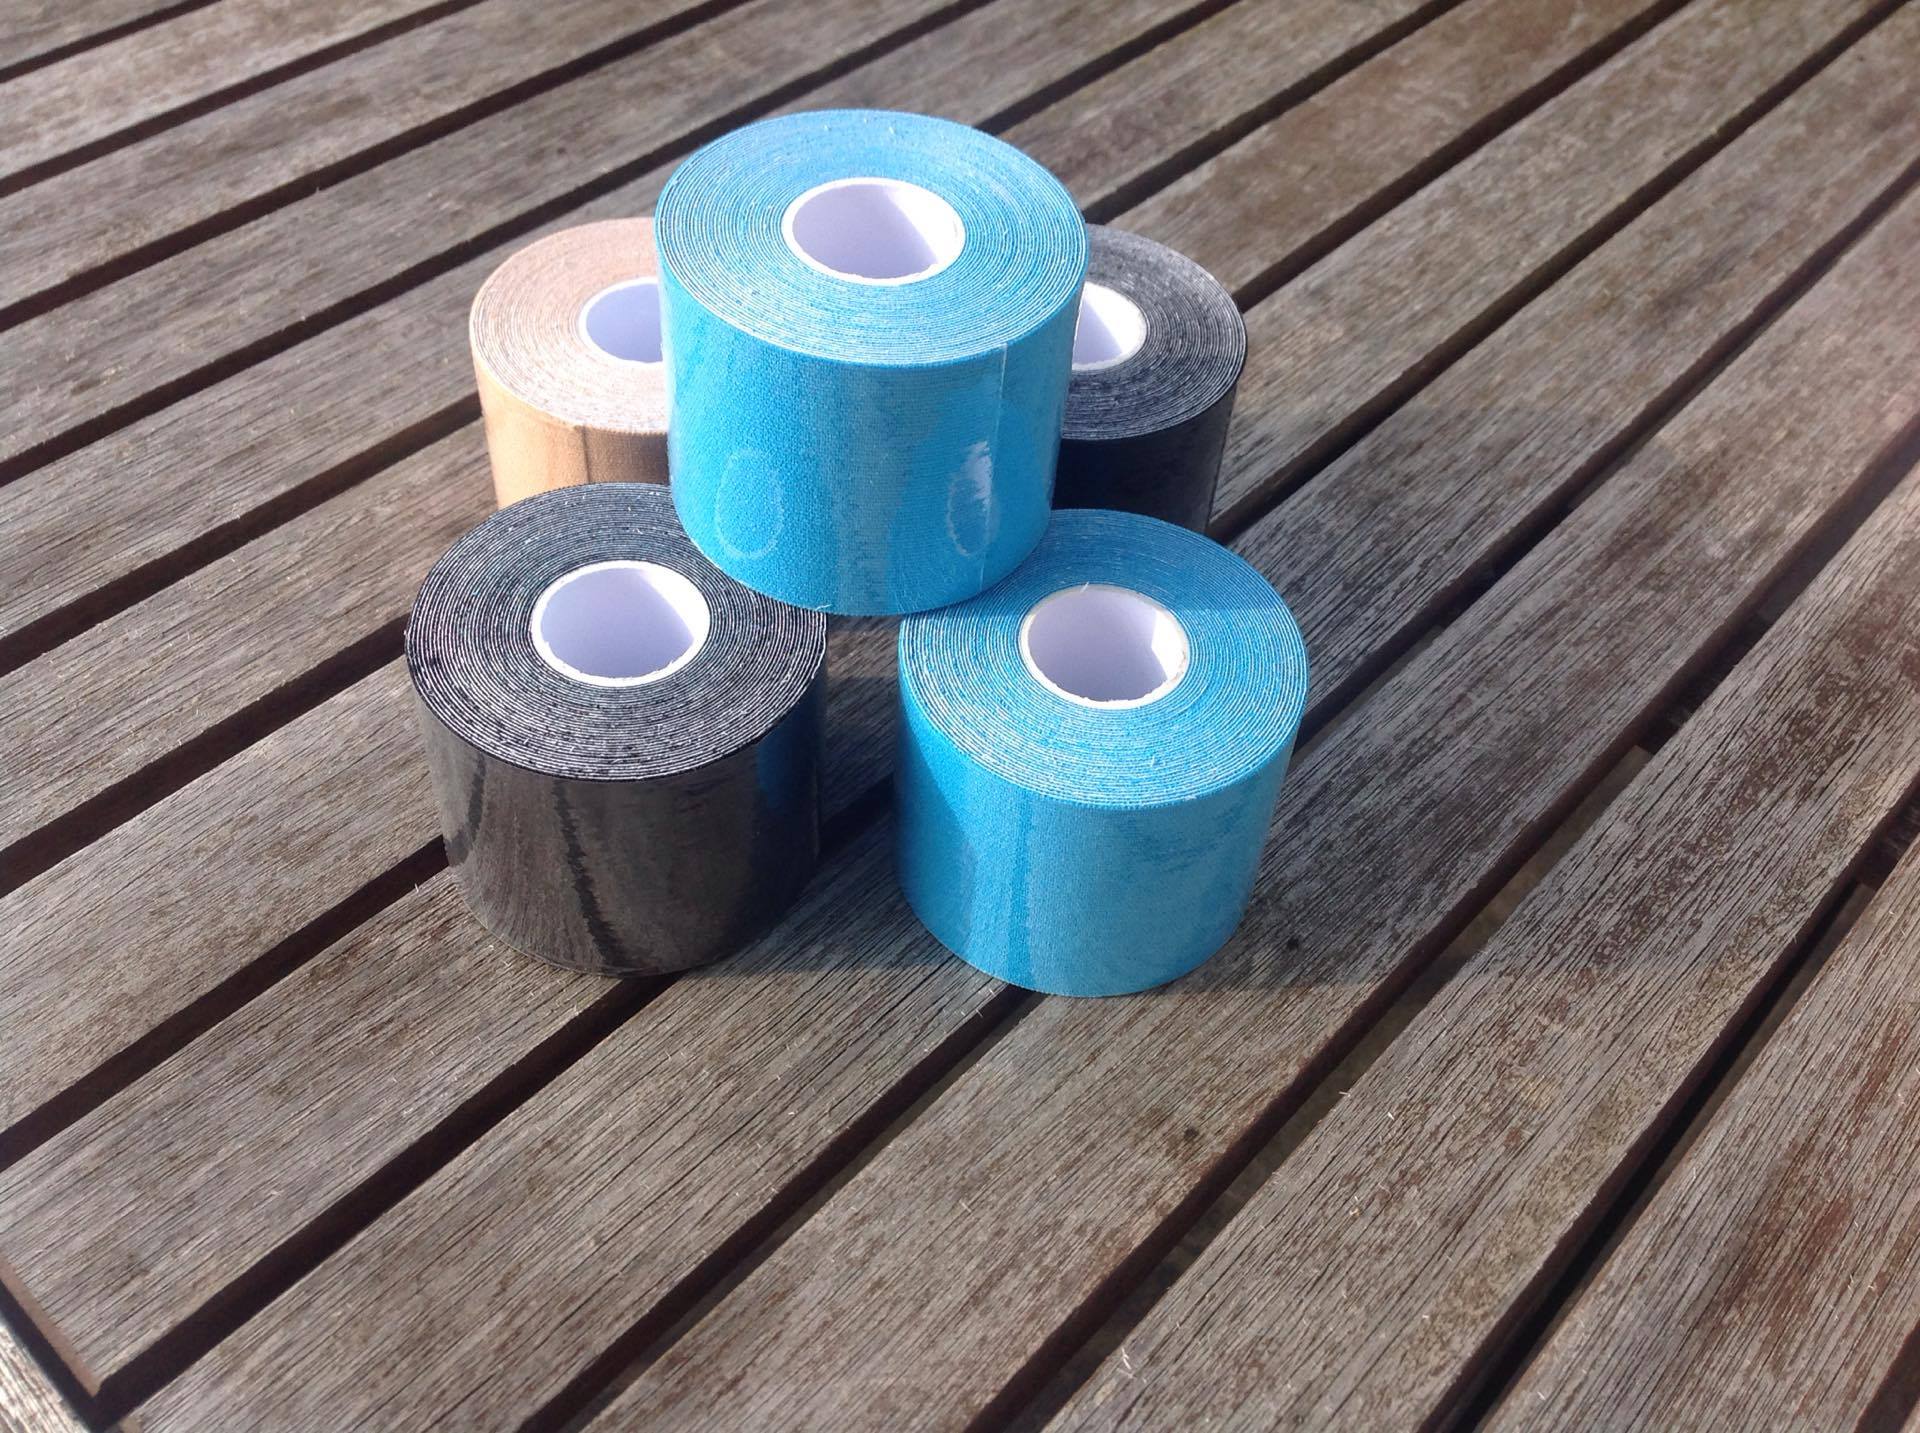
Tape
Tape is used both as a preventative treatment that keeps hot spots from becoming blisters, and as part of a good blister treatment in conjunction with other parts of your kit like ointments and dressings. The best blister first aid tape for your kit will be waterproof, breathable, and adhesive enough to stay put on your foot while walking, even in wet conditions.
Moleskin/Mole Foam
Moleskin is a classic blister treatment that is cut into a “doughnut” around a hotspot or blister to prevent further friction on the affected area. Moleskin is an effective treatment, but can be less adhesive than options like kinesiology tape, so it is often recommended to be used in conjunction with additional tape or a tincture of benzoin as described in the ointments section below.
Leukotape/Kinesiology Tape
Packing moleskin for a hike used to be the tried and true cure-all for blisters, and it still works as well as ever, but Leukotape scores high marks for being both waterproof and more adhesive than moleskin.
Kinesiology tape is a similar option, essentially used for the exact same purposes, but it is also stretchy/elastic, so it may not be as good a candidate as Leukotape because it can compress the affected area if applied too tightly, and won’t do as good a job at immobilizing an area when providing other first aid.
Kinesiology tape also happens to be more expensive, so unless you’ve already got some handy, chances are you’ll want to go with a roll of Leukotape that has been cut into strips.
Spenco 2nd Skin Adhesive Knit
Spenco 2nd Skin Adhesive Knit is a favorite among hikers as a high-performance blister first-aid tape and, like the other options above, can be used both as a preventative measure for known hot spots and a treatment option for blisters once they occur.
Spenco also sells full dressing and blister kits which include their adhesive knit tape, cooling pads, and pressure pads for hot spots that are worth looking at when putting your ideal blister kit together.
Duct Tape
Yep, good old-fashioned duct tape.
Duct tape will come in handy in a million ways (as it’s been known to do) out on the trail. It can be used to tape seams, fix a leak on a sleeping pad, or repair a hole in your tent, water bottle, or hydration bladder.
Duct tape isn’t generally recommended as a singular or long-term foot taping solution as it isn’t breathable or designed for any medical application like the other tapes on the list. That being said, duct tape is super sticky and the smooth outer surface is very low friction, so it will get the job done in a pinch.
READ MORE: How to Train for Hiking and Hike Faster
Medicines, Sanitizers, and Ointments
Tincture of Benzoin
Regardless of what kind of tape you choose, keeping tincture of benzoin on hand in your blister first aid kit is always a good idea because it serves multiple purposes.
Its primary use is to make tape more adhesive/stickier and therefore less likely to rub off while you hike. Tincture of Benzoin is able to do this because it contains tree resin (think tree sap) which is a naturally occurring adhesive that will greatly improve the tackiness of any bandage.
Benzoin Tincture also doubles as a sterilizing agent because it contains a significant amount of alcohol, so when you spray it onto the sticky side of your tape, you’re also effectively sterilizing the tape itself, making it safe to put around an injury (like a blister) without increasing the chance of infection.
Antibiotic Ointment
Nothing special is needed here, just bring the same antibiotic ointment (Neosporin or similar) you keep at home in sufficient quantity to treat multiple blisters.
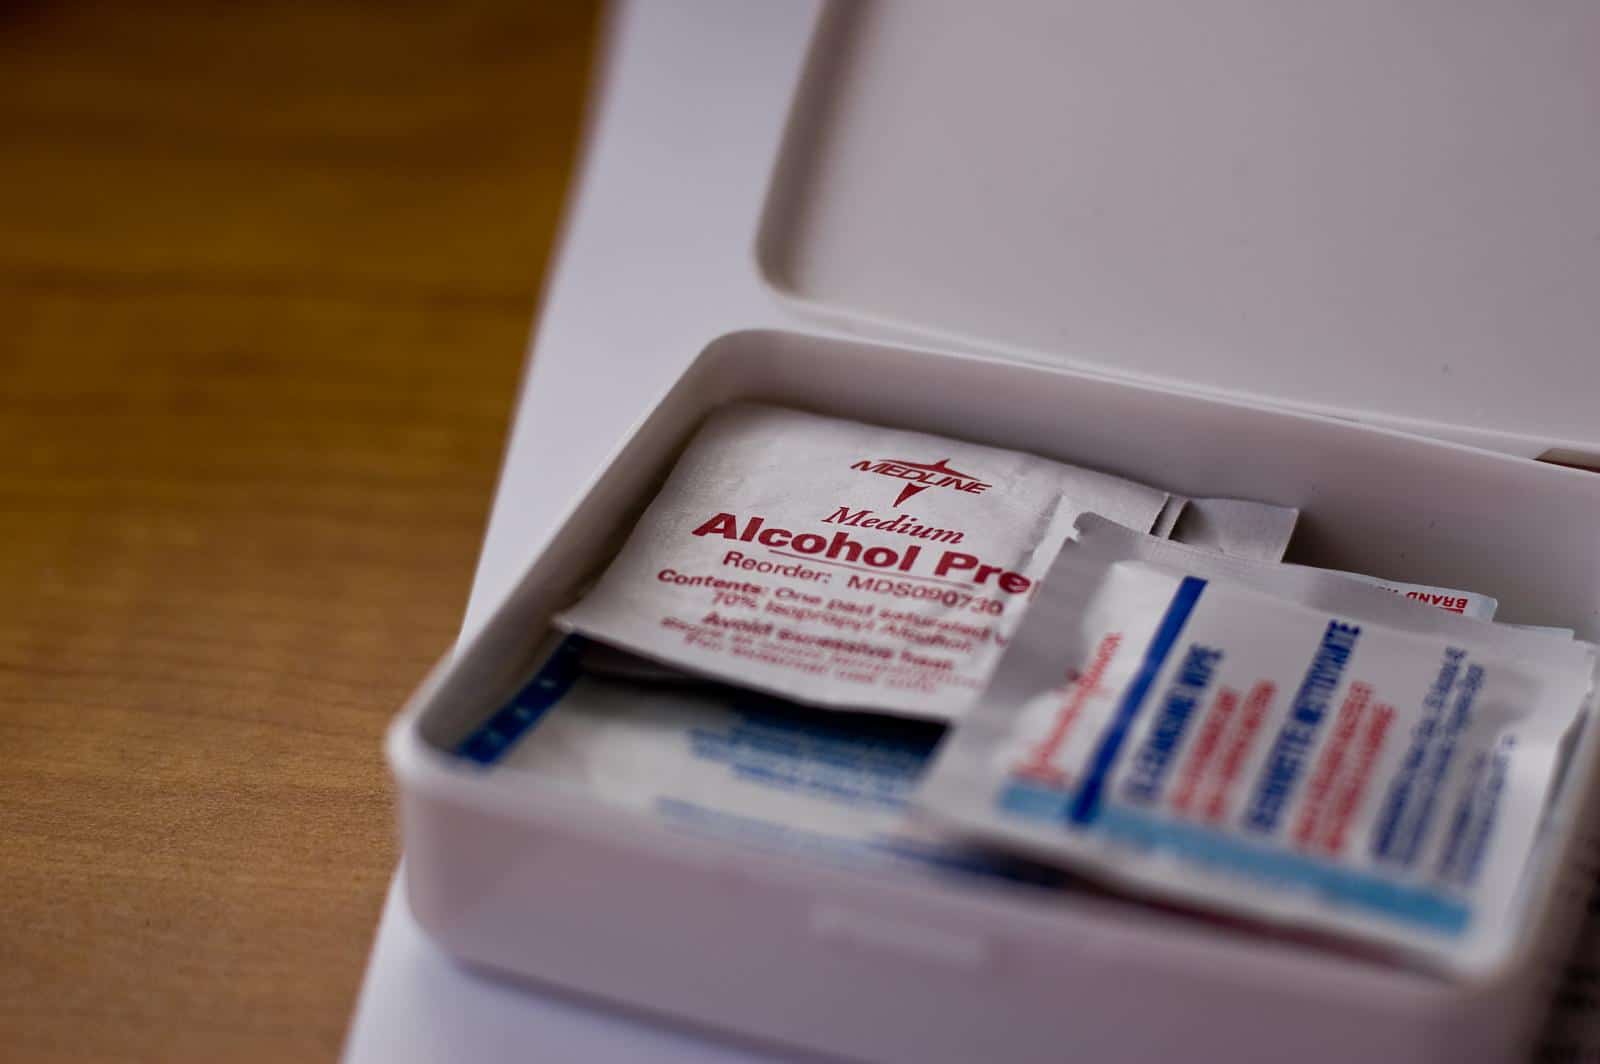
Alcohol/Sanitizing Wipes
Alcohol, alcohol wipes, or an alternative sanitizing wipe are used whenever possible when administering first aid as they dramatically reduce the chance of infection.
Treating a blister is just like treating any wound, and you’ll need something to clean to sanitize the area around it before applying any dressings for best results.
These wipes can also be used to clean up whatever instrument you choose to bring in case you need to drain a blister intentionally.
A Needle, Safety Pin, Or Scalpel Blade
A needle or sharp blade will be used for opening and draining blisters when needed. A safety pin can do the trick here, but a small sharp blade will create a longer, cleaner opening on the underside of the blister to ensure it drains completely and stays that way.
The smaller holes made with a safety pin or needle can heal quickly, re-sealing the blister and allowing it to start retaining liquid again.
I find packing an individually wrapped scalpel blade or two in my blister first aid kit to be the best option, as they are inexpensive, lightweight, and pre-sanitized. Therefore, they won’t require additional cleaning by alcohol or fire to be safe to use.
How To Treat Hot Spots

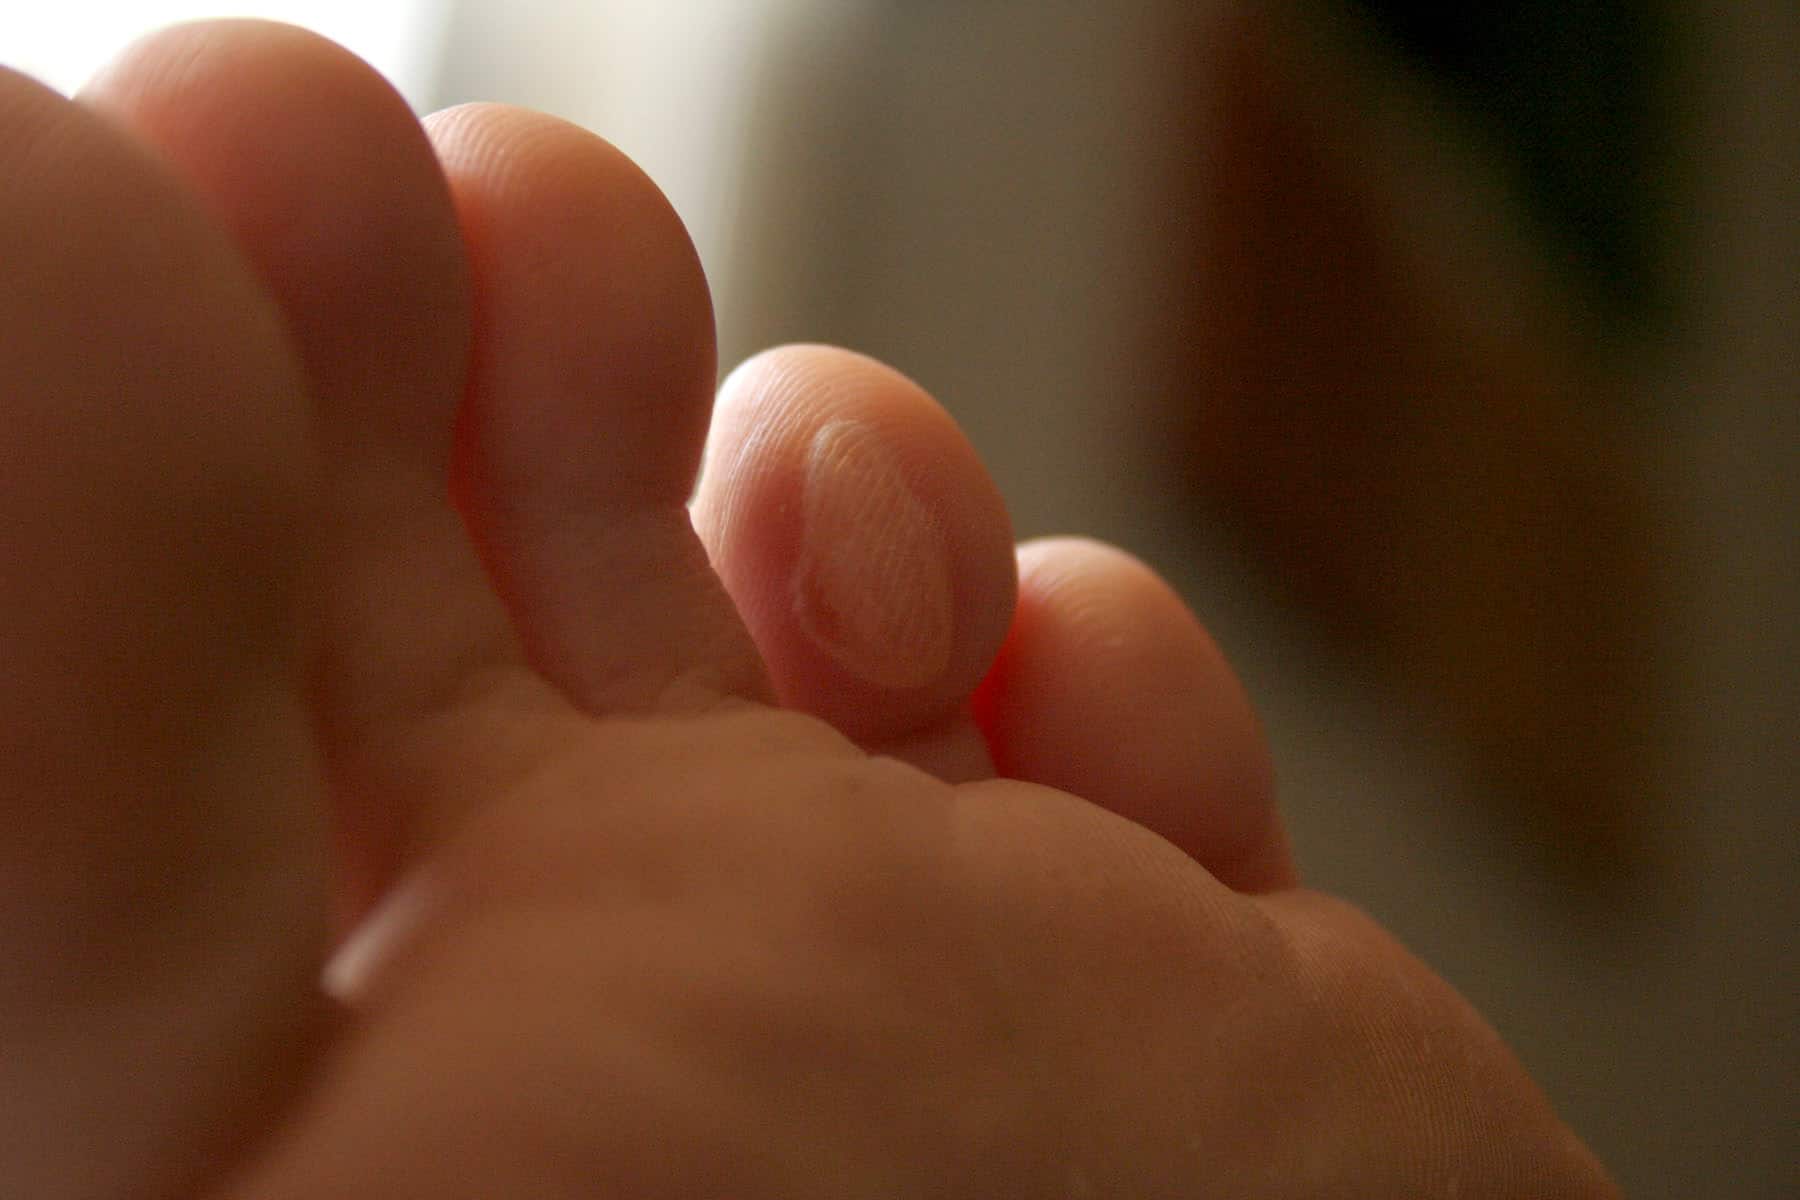
Hot spots are your early warning sign that a blister is likely to form.
If you’ve already done a thorough job breaking in your boots and have selected the right pair of socks for your hike, you’ve already done the most important part of preventing hot spots — or worse — blisters.
But, your feet will inevitably be pushed to their limit at some point, whether due to excessively wet conditions or logging extra long days, so knowing how to listen to what your feet are telling you is an important part of any hike.
As we mentioned, hot spots are an early warning sign that a blister is about to happen. Both hot spots and blisters are caused by areas of increased heat and friction inside your footwear that create sensitive areas over time.
If you ignore these hot spots as they arise, the heat and friction will continue, causing the outside layer of your skin to separate from the layers underneath.
Once this happens, your body will fill the space between the layers of skin with fluid to try to cool the area down and, boom, you’ve got a blister.
So how do we treat a hot spot before it becomes a blister?
Simple: Just use tape.
Well, maybe not that simple.
Start by taking a break as soon as the hot spot arises, and take off your shoes and socks to let your feet air out and cool down.
After your feet have had a chance to rest, it’s time to treat them to prevent further injury.
Since hot spots are caused by friction against your skin, to treat them, we simply cover up the affected area with tape.
We want to avoid putting sticky tape directly on top of the sensitive area itself, in case it becomes a blister down the road and we have to remove the tape and treat it.
To do this, cut a strip of tape large enough to cover the hot spot and the area around it.
Next, cut a piece of tape the approximate size and shape of the hot spot itself, and apply that piece upside down (sticky to sticky) in the middle of the first piece of tape.
Finally, apply the two pieces of conjoined tape over the affected area, with the smooth part you cut out second directly over the hot spot itself.
Now your sock is rubbing against the tape, and your skin has a chance to continue to cool down and heal.
In terms of what kind of tape is best for treating hot spots, you’ll have to experiment and decide from the options mentioned above. Many hikers will carry a combination of tape and moleskin in their blister first aid kit that best suits them.
Once you’ve got your tape applied and your feet are feeling up to it, it’s also a good idea to go ahead and put on your freshest pair of socks at this point to further reduce the moisture in your shoe. This will also give your current pair of socks a chance to dry out before you need them again, which helps further reduce the likelihood of additional hot spots developing.
How To Treat Blisters
Try as we might, sometimes hot spots will inevitably become blisters, and blisters need to be treated properly to prevent more serious conditions from developing.
Although conventional wisdom in dealing with blisters is to leave them alone and let them heal on their own, when you’re out on the trail, popping a blister intentionally is almost always going to be the safer option to prevent further injury or infection.
When you pop a blister yourself, you remove the possibility of the blister popping on its own inside your boot and allowing the fluid inside to soak into your sock, which creates a more infection-prone environment inside your footwear.
READ MORE: How To Use a Map and Compass to Find Your Way Out of Anywhere
To Pop And Treat A Blister, Follow These Steps
First, remove your shoe and sock and clean the affected area as best you can with the materials in your blister first aid kit. Sanitizing wipes or alcohol and clean cloth/bandages are ideal here.
Next, you’ll want to sterilize your needle or blade as needed to further reduce any risk of infection. You can do this using the alcohol or sanitizer from your first aid kit, by using the flame from your lighter, or by letting the needle or blade sit in boiling water for a minute or two just prior to using it.
Once everything is sterilized, it’s time to open the blister.
If you’re using a needle, create a small hole at the bottom edge of the blister, and move the needle around slightly from side to side to make sure the hole is large enough to keep the blister from closing itself and filling with fluid again.
If you’re using a blade, create a small slit along the bottom edge of the blister.
Once you’ve opened the blister, carefully push out the fluid inside from top to bottom, being careful not to remove or further damage the outer skin covering the blister. You need to leave this skin in place as it protects the more infection-prone layer underneath while also allowing it to heal.
With the fluid drained from the blister, your next step will be to cut your tape or moleskin into a “donut” that surrounds the affected area without touching it directly.
Next, apply antibiotic ointment to the area inside the donut.
Finally, take another piece of tape and place it over the donut so that the donut is covered completely to help keep the ointment in place and prevent further friction.
Once your blister has been treated, take every opportunity to give your feet additional down time to cool off and dry throughout the day.
Change the dressings on the blister as often as necessary, and know that if you see any early warning signs of infection like red streaks around the area or the formation of pus, it’s time to get off the trail and seek further medical attention.
Pin it for later!