In order to stress the importance of backpacking tents, I’m going to tell you about the last time I almost died in the woods.
It was my first trip into the backcountry, and I didn’t know a single thing about backpacking other than I loved being in the woods, spending the night around a campfire, and sleeping in a tent. A buddy and I decided to hike ten miles into the Cohutta Wilderness, and spend the night in solitude on top of a mountain. Sounds like fun, right?
And it should be, so long as you’re not as young and dumb as we were at the time. I had a Jansport backpack I used around campus, a 40-degree Coleman sleeping bag, and a ten-person tent I had taken out a few times car camping with friends.
He had a similar backpack and sleeping bag, so we threw it all loosely into the back of my car (along with a ton of water, some granola, and a few cans of beans) and hit the road, high on adventure.
It wasn’t until we got to the trailhead we realized the only thing that fit inside our packs were our giant sleeping bags, and the tent, food, water, and other random supplies still needed a home. So naturally, we took one sleeping bag to share, filled the other bag with food and water, and took turns carrying my giant 25-pound tent in our hands.
Long story short, the elevation increased, the temperature dropped (and then dropped again as the sun set), and we found ourselves ten miles away from anything in 30-degree weather. We took turns shivering in the tent and keeping the fire going outside when the cold got unbearable.
We didn’t sleep that night, had a miserable breakfast of cold beans, and silently hiked the most miserable 10 miles of my life back to our car at first daylight. I thought at minimum I was going to lose at least one toe (I still count ten at the time of this writing).
So, in the interest of making sure our readers have as much room in their packs for necessities as possible like backpacking sleeping bags, extra layers, and decent food, I’ve decided to help spread the word about backpacking tents.
Below is an essential guide to the different types of tents out there (all of which hold fewer than ten people, thankfully). I’ve included some key features to look out for in your tent of choice as well to make sure you’re prepared for whatever the backcountry might throw at you.
Keep It Small, Keep It Light
As one of “the big three” backpacking items (tent, sleeping system, backpack), size and weight are the main considerations when choosing a backpacking tent.
For some backpackers, that means building a superlight, minimalist setup that’s composed of little more than a tarp and a bug net. It’s also become popular to ditch the tent altogether and use a hammock and rainfly instead.
But, for hikers that want to keep it light but don’t want to sacrifice all of the conveniences of a modern tent, picking the ideal backpacking tent means deciding how much weight and volume you’re willing to exchange for a few extra creature comforts.
How Much Should A Backpacking Tent Weigh?
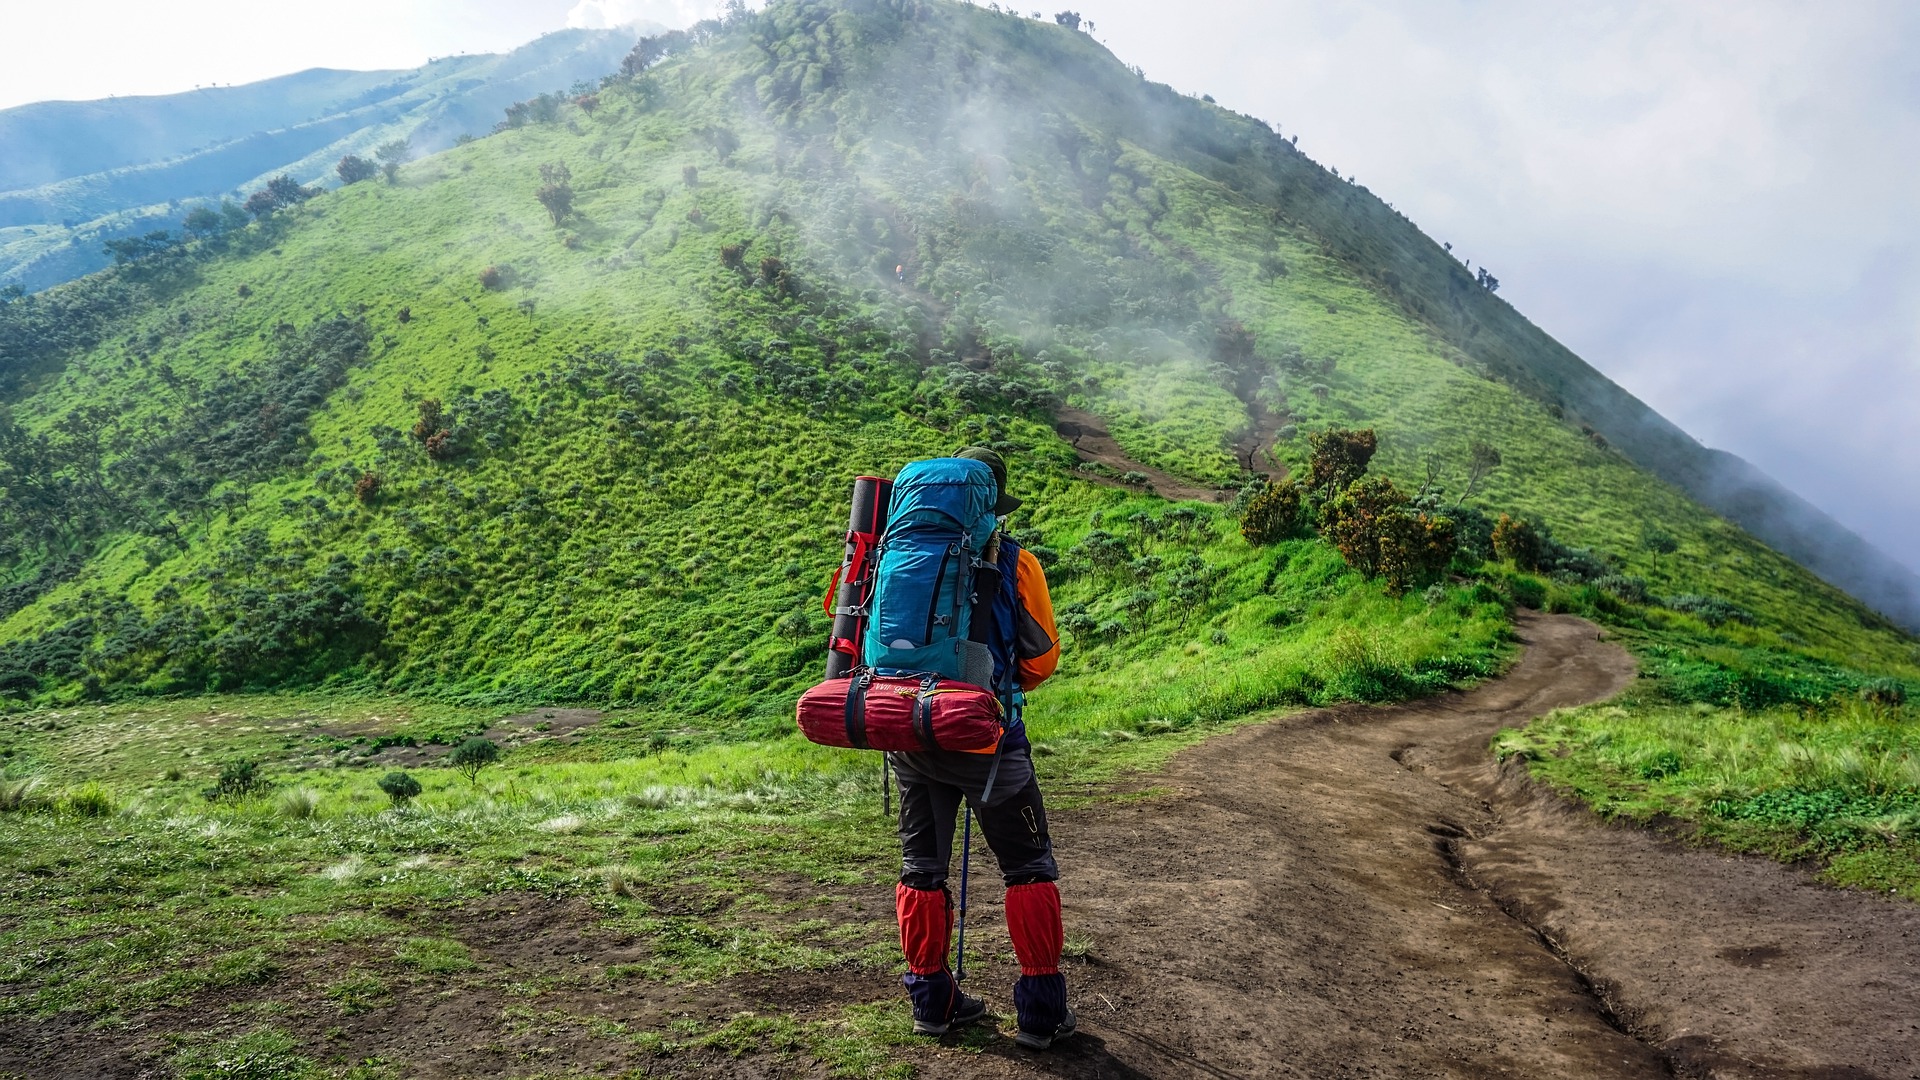
Most backpackers aim to have their full loadout weight under 30 pounds. That includes water, food, and fuel. For that reason, it’s wise to set a combined weight goal for your “big three” items at ten pounds or less.
More often than not, your tent is going to be the heaviest of the three when it’s all said and done, and will take up more space than any other item in your pack as well.
The absolute maximum weight for any backpacking tent should be five pounds, and that’s for a two person tent. Consider sticking to a single person tent if you’ll be sleeping by yourself, as there are plenty of budget-friendly single setups out there that are around two pounds or less. If you’re hiking with a partner, remember you can always split the tent between the two of you. One person carries the poles and the stakes, while the other carries the body and the rainfly.
Just know that when you’re shopping for backpacking tents, you’ll usually see two weights listed. The packaged weight, or the total weight, is the sum total of all the items that come with your tent, and includes any extra stakes, lines, and even the instructions for setting up and caring for the tent.
The minimum trail weight, on the other hand, is the lightest possible weight for your tent, and only includes the tent body, poles, and rainfly.
The actual weight of your tent will be somewhere in between, depending on whether or not you want to bring along an extra footprint to protect the bottom of your tent, as well as the original stakes that came in the package.
There are plenty of ways to get your tent below the packaged weight, and a simple lightweight tarp footprint or lightweight alloy stakes can shave several ounces off the total without sacrificing any features or reliability.
How Large Should A Backpacking Tent Be?
Backpacking tents come in sizes designated by the number of people they’re designed to fit. So a “1P” tent is for one person, a “2P” tent is for two, and so on.
However, there’s no standard of measurement for these sizes, so one 2P tent may hold two hikers with plenty of space left over for their gear, while another could be cramped just with two sleeping pads rolled out inside. Take a look at the measurements listed and if at all possible, go to an outfitter and get a look at the tent in person.
Most hikers prefer to have as much space as possible while still meeting their weight goals, but if you’re leaning toward a single or a bivy setup anyway, size probably isn’t a major concern.
READ MORE: Camping Hacks: How to Stay Cool While Camping
Temperature Considerations For Backpacking Tents
Depending on where you’ll be backpacking, chances are you’ll need to decide between one of two types of tents: Three season tents and four season tents.
Three season tents are the most popular type of backpacking tent. Rugged and lightweight, these shelters can handle most conditions during spring, summer, and fall including torrential downpours, gusty winds, light snow, and freezing temperatures.
Four season tents are built to handle the most serious weather conditions including the kind of heavy snowfall and brutal wind speeds you expect to encounter on mountaineering expeditions. You shouldn’t need a four season tent unless you’re camping in deep snow, but if you do choose a four season tent, just know that they tend to be heavier and less ventilated than three season models.
Types Of Backpacking Tents
While all backpacking tents should be fast and light, some are much lighter than others. As we stated above, the compromise here usually means choosing between comfort on the trail (lighter pack = less stress on your body), and comfort at camp (having a nice roomy tent to stretch out in).
We’ve listed the most popular types of backpacking tents below, along with some key points to consider for each option.
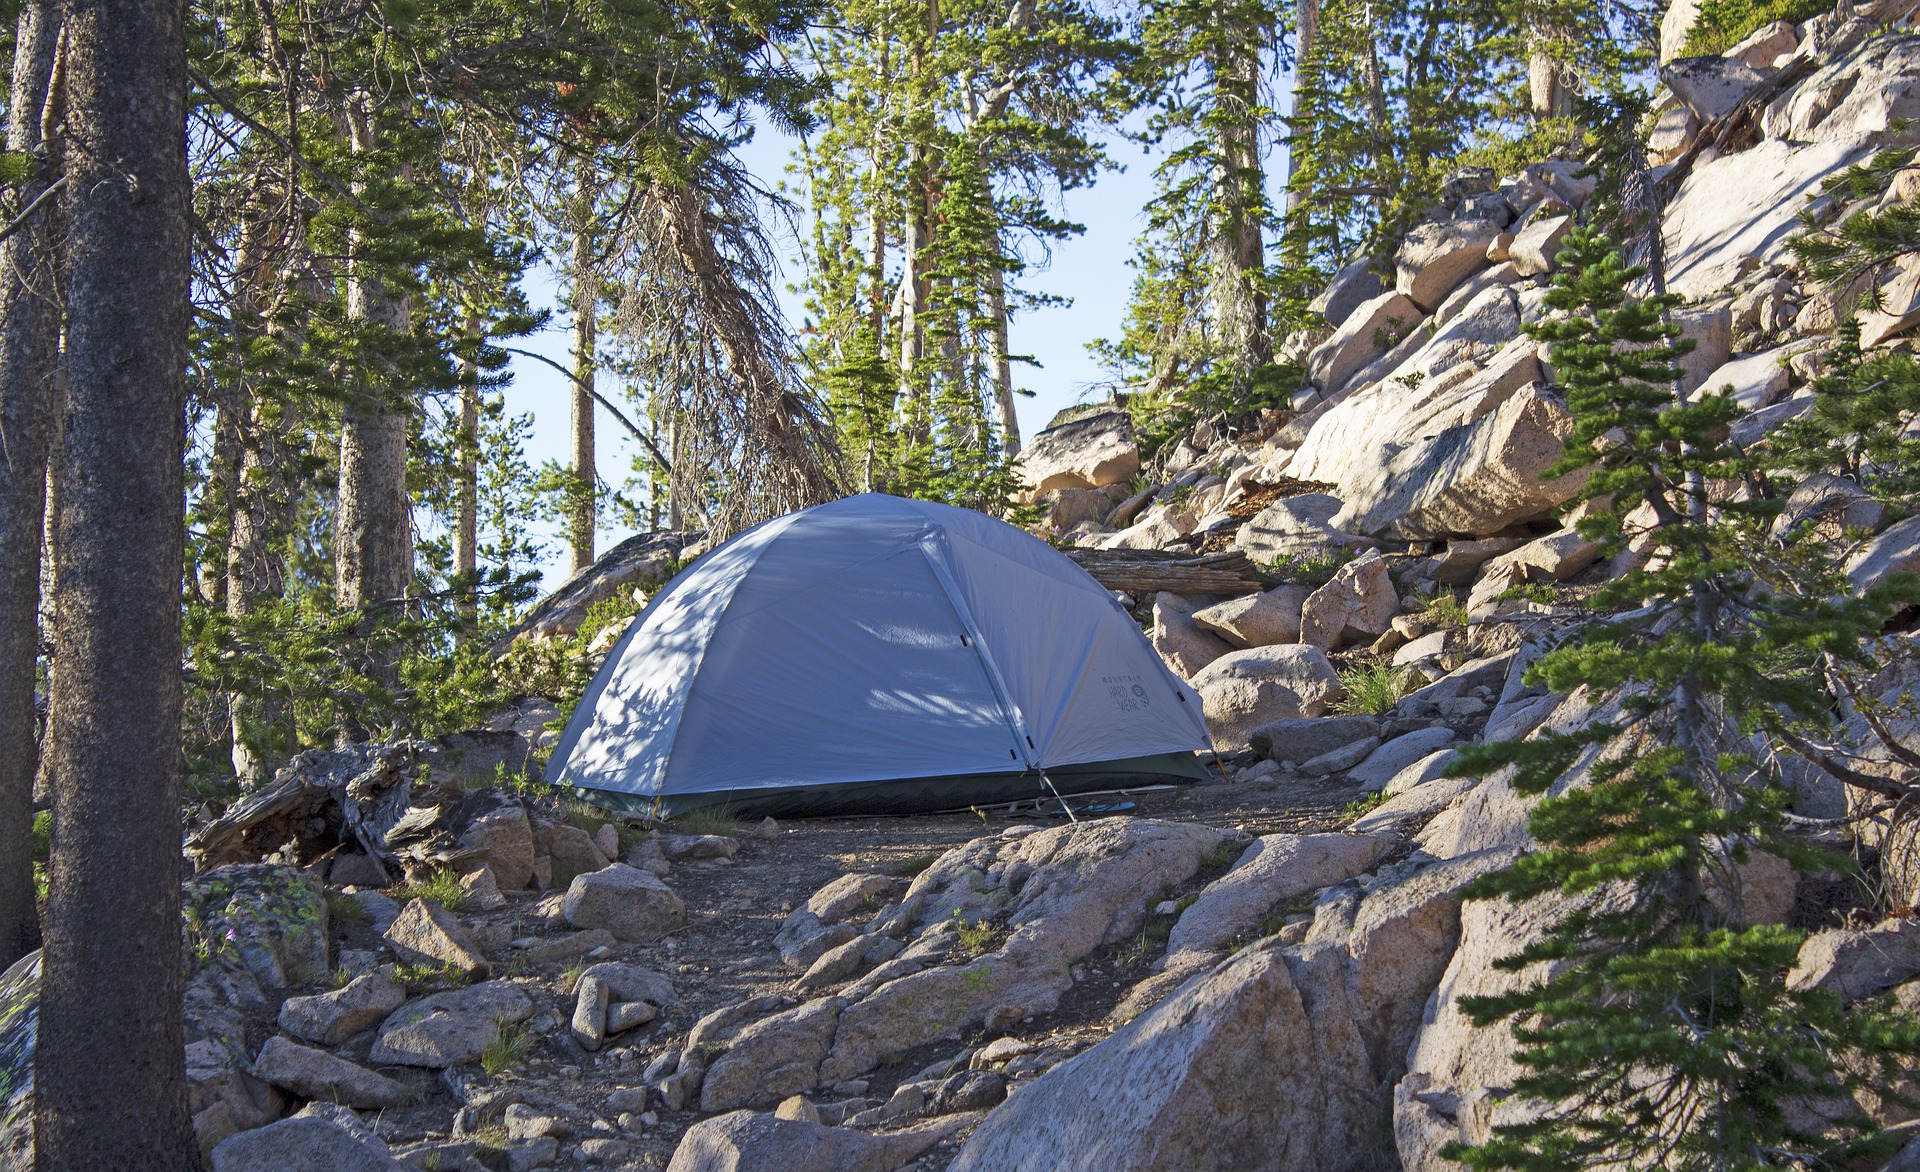
Freestanding Tents
Freestanding (or double-wall) tents are what most people think of when they imagine a tent. These are your typical tents that utilize tent poles to support the main enclosure, and a separate rain-fly to keep out rain and bad weather.
Freestanding tents are a popular choice among backpackers because of their easy set-up, ample ventilation, and roomy interior space. Freestanding backpacking tents come in single and multiple-person configurations, so if you’re considering hiking with a partner, this might be your best bet.
The downside of freestanding tents is that they tend to be a little heavier than other types, and can also be more expensive than the simplified options below.
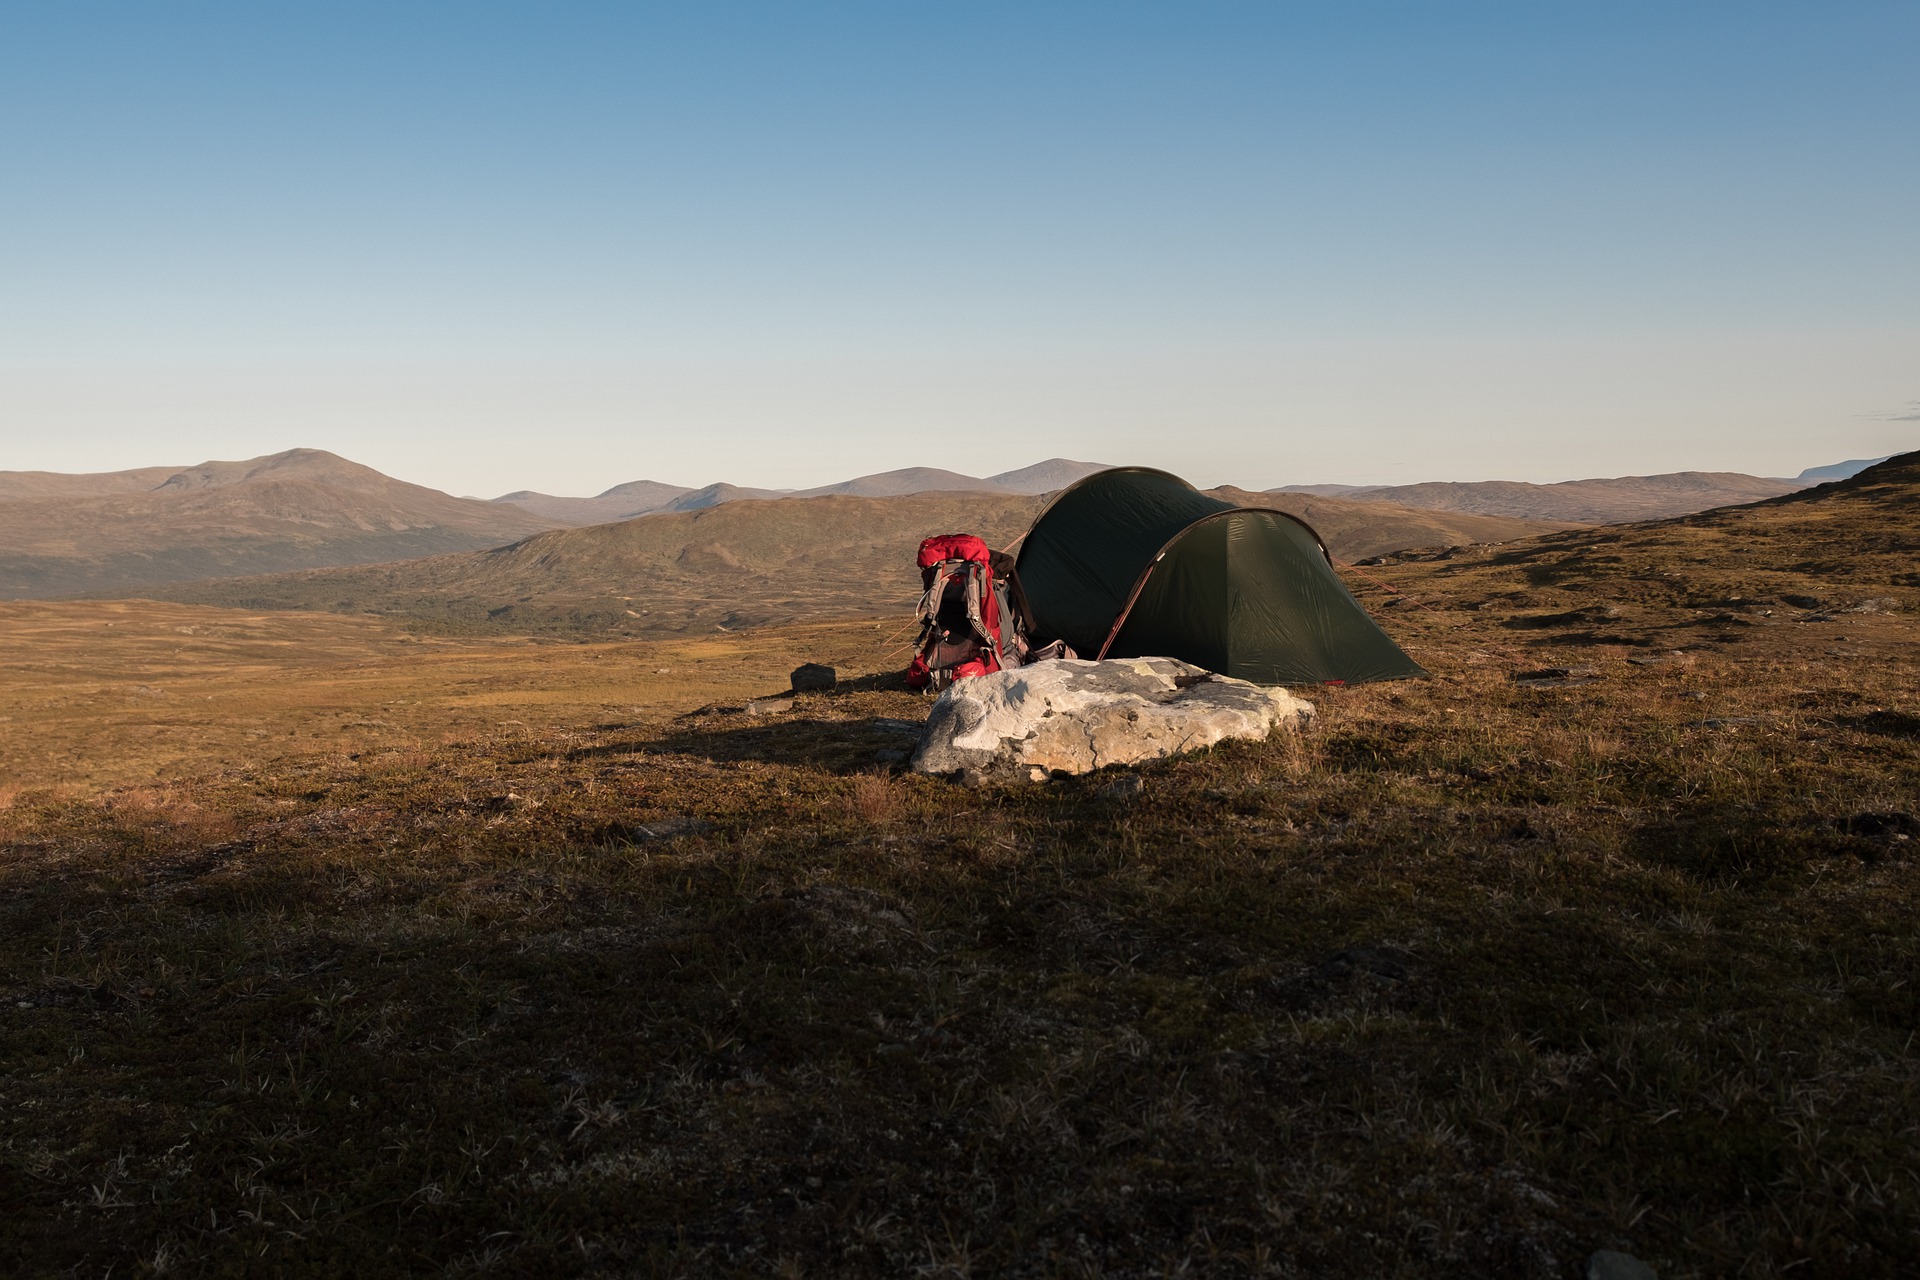
Single-Wall Backpacking Tents
Single wall backpacking tents are similar in size and shape to double-wall tents, but they combine the rain fly and tent wall into a single layer to reduce weight and volume in your pack.
Some single-wall tents use a traditional free-standing pole system like their larger double-wall counterparts, but many opt for a single support pole kept upright through guyline tension alone. These tents take a little more experience and know-how to set up securely, but once you’ve got the process down, setup becomes second nature.
Because single-wall tents must be built from waterproof materials, their main downside is decreased ventilation. That translates to more condensation build up inside the tent from your breath as you sleep. You’ll also lose the luxury of being able to remove your rainfly to sleep under the stars, but for many hikers the weight savings is worth the compromise.
Bivy Sacks And Bivy Shelters
The third common backpacking tent (or tent alternative) is the bivy sack, which can be used with or without an additional tarp for weather protection depending on the model.
Bivy sacks are essentially minimalist waterproof barriers that fit snugly over your sleeping bag and protect you from the elements. They only have enough room inside to sleep in, with just a few inches of extra space on all sides.
They have a single opening that is just large enough for you to crawl into feet first, and will typically have a bug net with a zippable waterproof flap at the opening allowing you some extra ventilation and visibility when the weather is good.
Bivy shelters are bivy sacks that have an additional minimalist pole and/or guy line system included to provide more space inside the sack. Inside a bivy shelter, you’ll still be in very close quarters, but you’ll be able to comfortably prop up on your elbows to read a book or look around outside.
If you’re considering a bivy system, you’ll want to make sure that your sleeping pad of choice fits comfortably inside the confines of the sack. You can also opt to leave your pad on the ground outside of your bivy, but depending on the pad you use that may increase your chances of getting a puncture and having a rough night’s sleep.
Obviously the main drawback of either bivy setup is a lack of space inside, so if you’re claustrophobic or the thought of waiting out a rainstorm inside of a dimly lit tube is unbearable, this isn’t the choice for you.
Important Features To Consider In Backpacking Tents
Finding a reasonably-priced backpacking tent is always a good feeling, whether you pick it up at REI’s yearly sale, find it used online, or simply happen upon a closeout for a discontinued model.
With that being said, proceed with caution for any tent priced too good to be true, and make sure it includes the features below:
Quality Tent Poles
Budget tents like you’d find in a department store can seem like a great deal, but double check the tent poles before you pull the trigger. Good tent poles have sturdy aluminum construction, not fiberglass. Composite poles break much more easily and may or may not be repairable on the trail.
DAC is the industry standard when it comes to quality tent poles. That’s not to say that there are no other good poles out there, but if your tent comes with DAC poles, it’s going to be sturdy.
Rugged Materials
Both the walls and the floor of your tent take a lot of abuse. Being packed and unpacked every day on the trail puts some serious wear and tear on your tent, and you need to make sure the body of it is up to the task.
Nylon was the gold standard for years. It’s still great, but polyester has also made a comeback recently.
Polyester developed a reputation for being flimsy and cheap because department store tents were flimsy and cheap and cut costs by using low-grade polyester. Nowadays, some of the best backpacking tents on the market come with polyester or polyester taffeta materials, so it’s not the red flag it once was.
Just know that “denier” is the measurement of your material’s thickness/toughness. Whichever material you choose, you’ll likely find this rating abbreviated as “D.” There’s a long explanation for how these ratings are determined, but understanding that a “60D” material is going to be thicker and tougher than a “30D” material of the same type is all you really need.
As you go up in denier, you also go up in weight. Most tents will run between 20D and 70D for their canopy and floor fabrics. If you opt for a lower denier tent (especially in the tent floor), you’ll want to make sure you have a higher denier footprint to place underneath the tent to protect it from the ground below.
READ NEXT: How To Choose The Perfect Food For Backpacking
Pin it for later!